I like it, looking great.
Took a different approach. Modified exsisting M-8. A little less work. A few more interior details.
Will need help on how to get into game. And, a skinner to paint to match.
Zflyer48
Hello Mike, I have actually done a few things using turrets so let's see if I can help with this.
Now I am not a soldier so have not used a 50cal but I will make a few assumtions on how it might work, also, bear in mind my employers have never taken my engineering knowledge seriously.

The vehicle will usually contain at least Body, Head and Gun meshes attached with a hier, in the M8 the wheels and other parts are also separate and attached with the hier
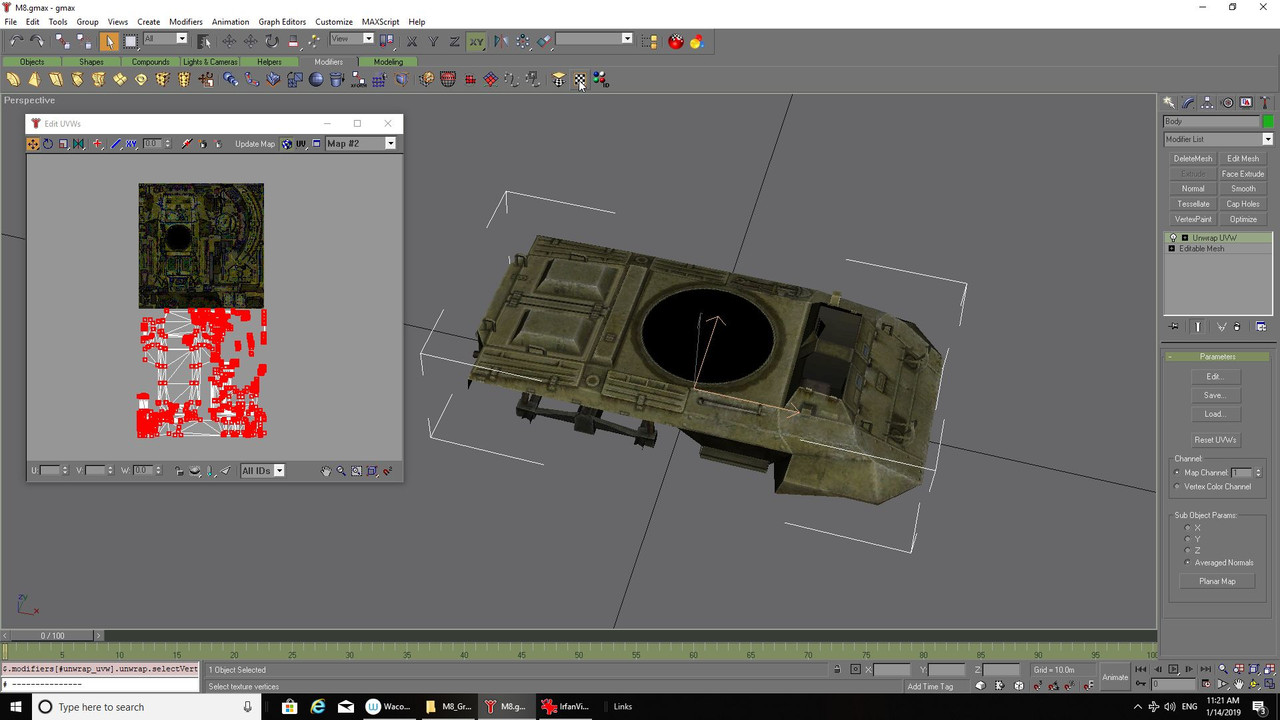
You can actually use the existing skin used for the M8, your ring and frame can occupy the space used by the existing turret so you get the same scheme, not that it matters especially where you place your mapping as the part will be separate from the body anyway but it helps things match if you use the same area so everything looks matched up.
I use gmax so what follows could be different for you, however, you should be able to do something similar.
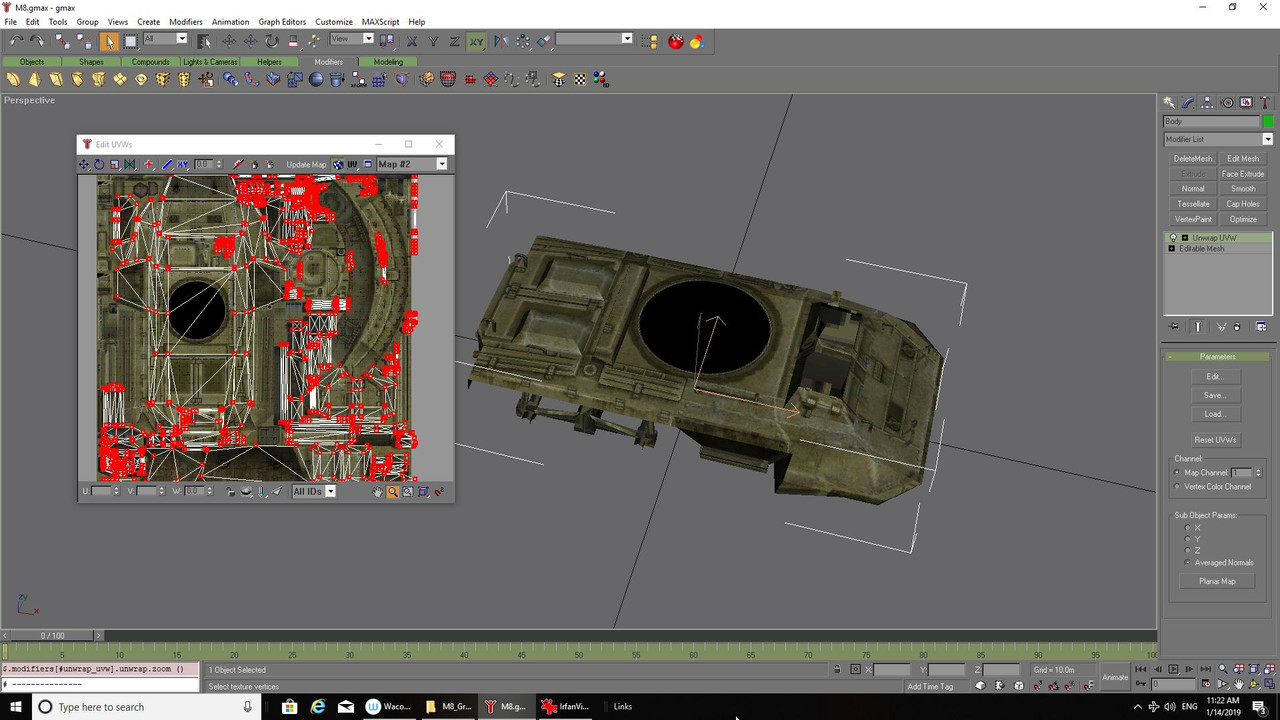
This is the Body part of the M8 after import as a 3ds file into gmax and it will be without a texture, you will need to save a copy of the texture from the M-8 folder and save as BMP or other before adding into whatever image folder you have, notice the mapping is never where it should be with gmax you will need to move it into position:
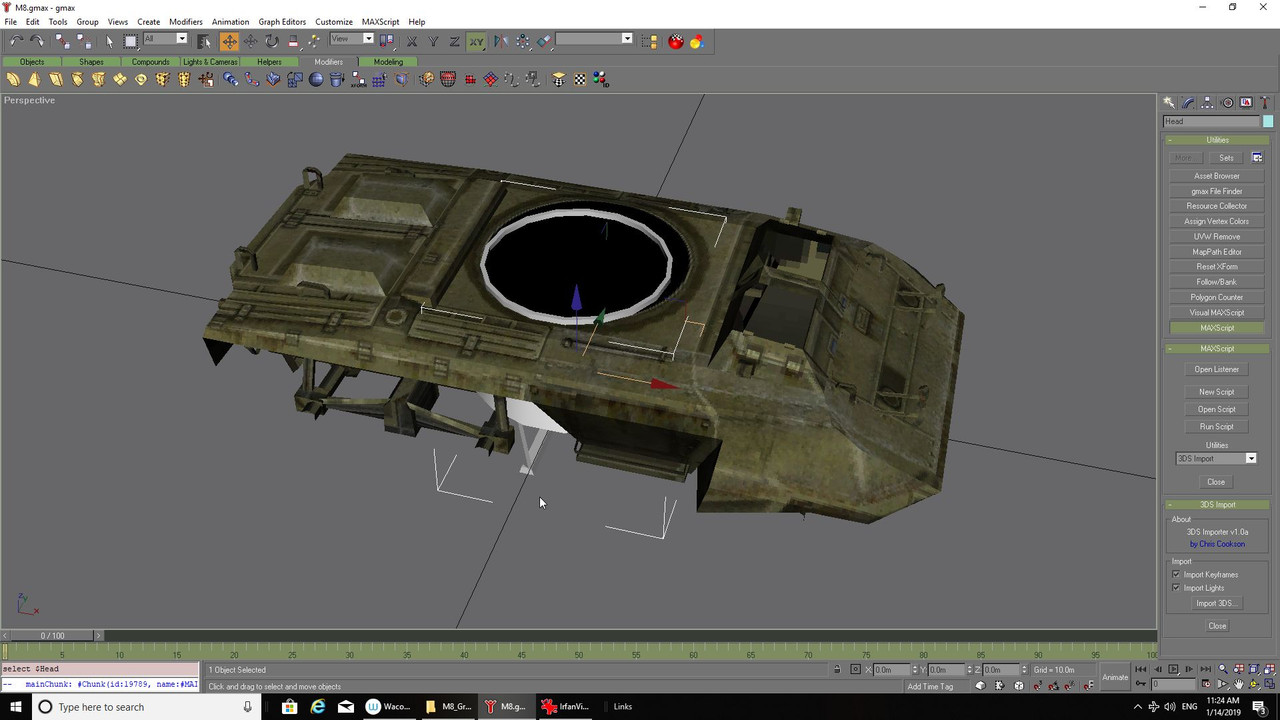
I have added the turret (Head) here and that also will need the skin on:

Now for that assumption, the ring could have a recess in which are wheels or bearings and on top will be another ring with the mount and gun all clipped together.
So, I will use the existing turret and hack it up a bit.
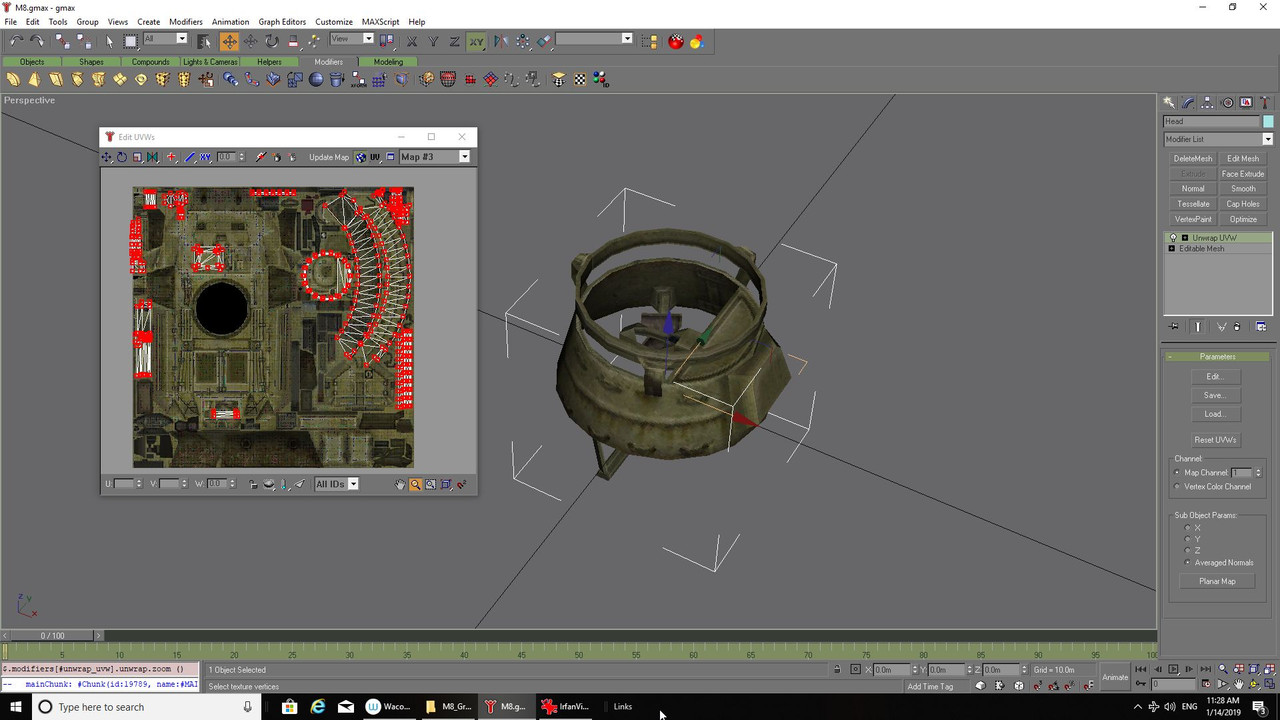
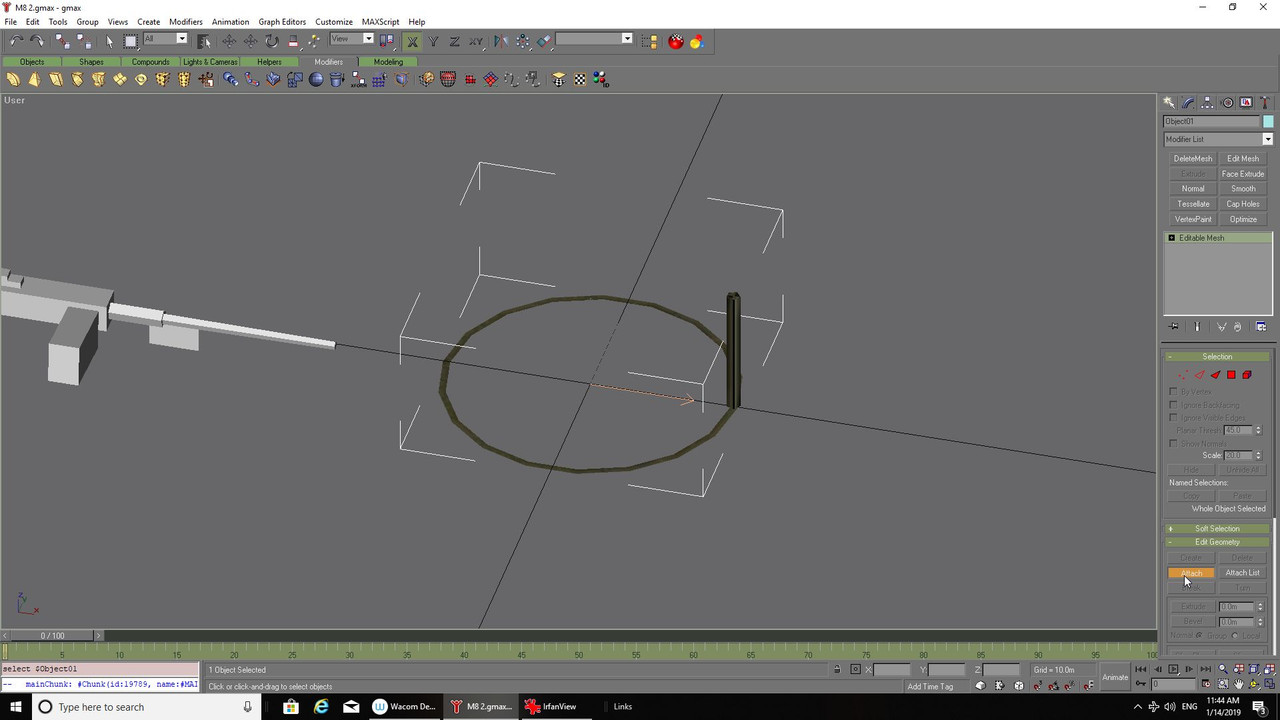
First of all clone your ring so that can be left as it is, then using the cloned part select the faces on top all around and detach the part, this will be the Head on your model with the remaining frame attached to the body either physically or with the hier but it needs to be named as Head.
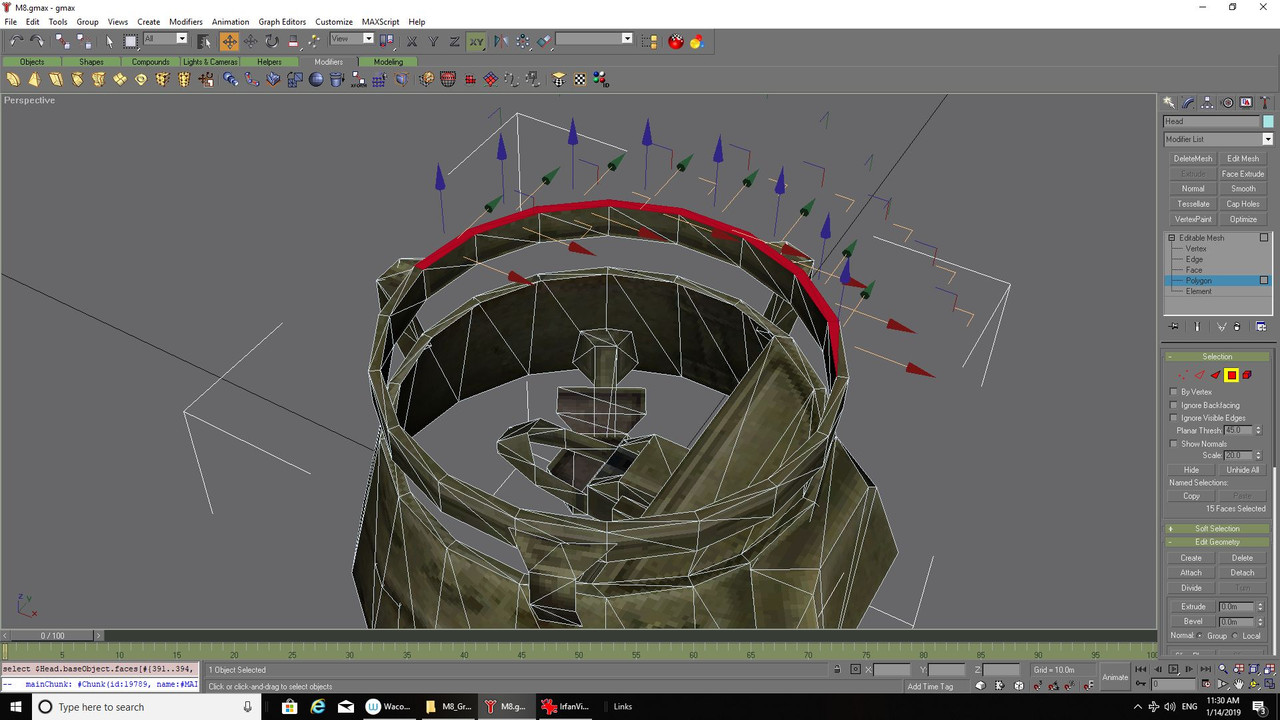

I just took it off the existing part for the purpose of this tutorial, however, you might be able to see straight through the other parts with the ring lifted or rotated so it is best added as a separate entity above your existing gun ring:
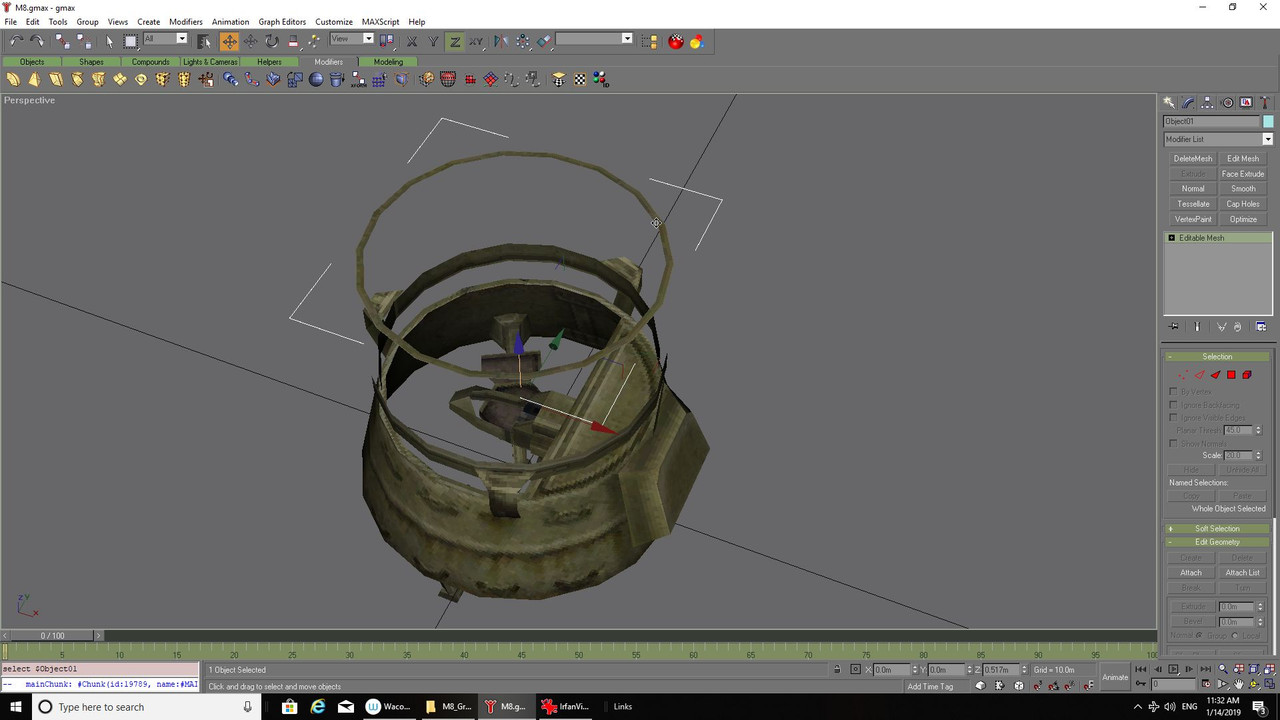
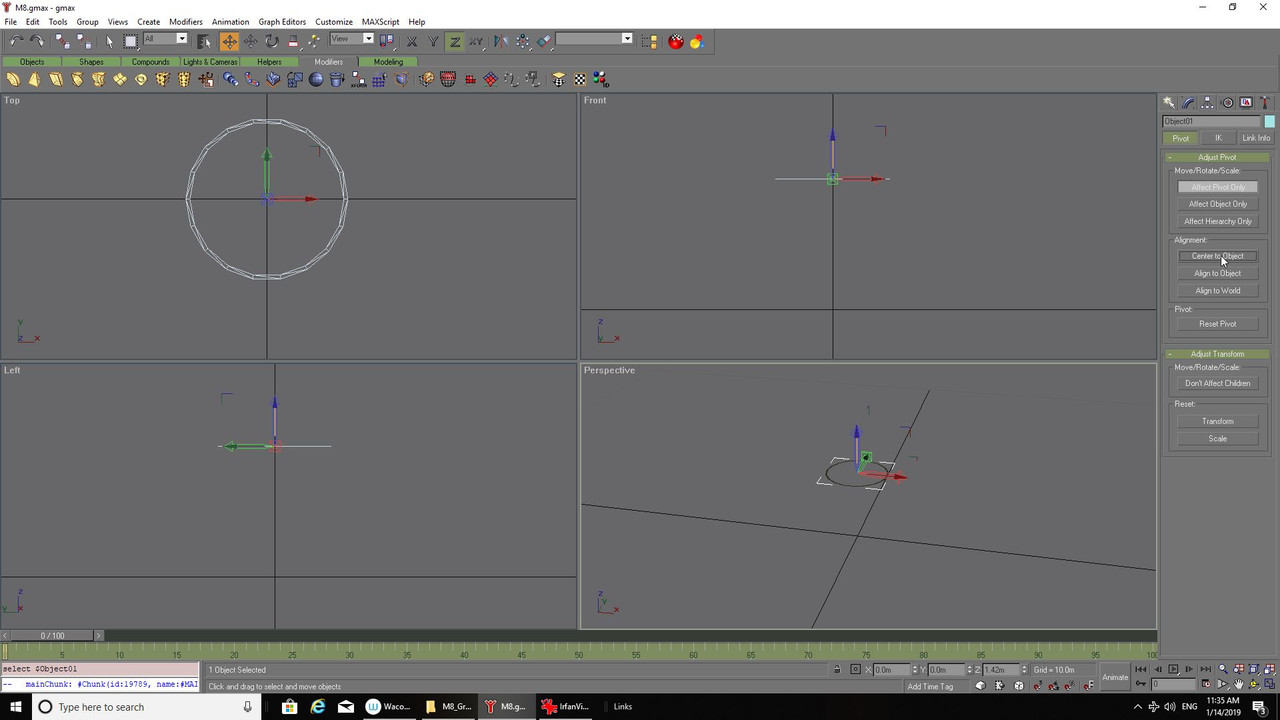
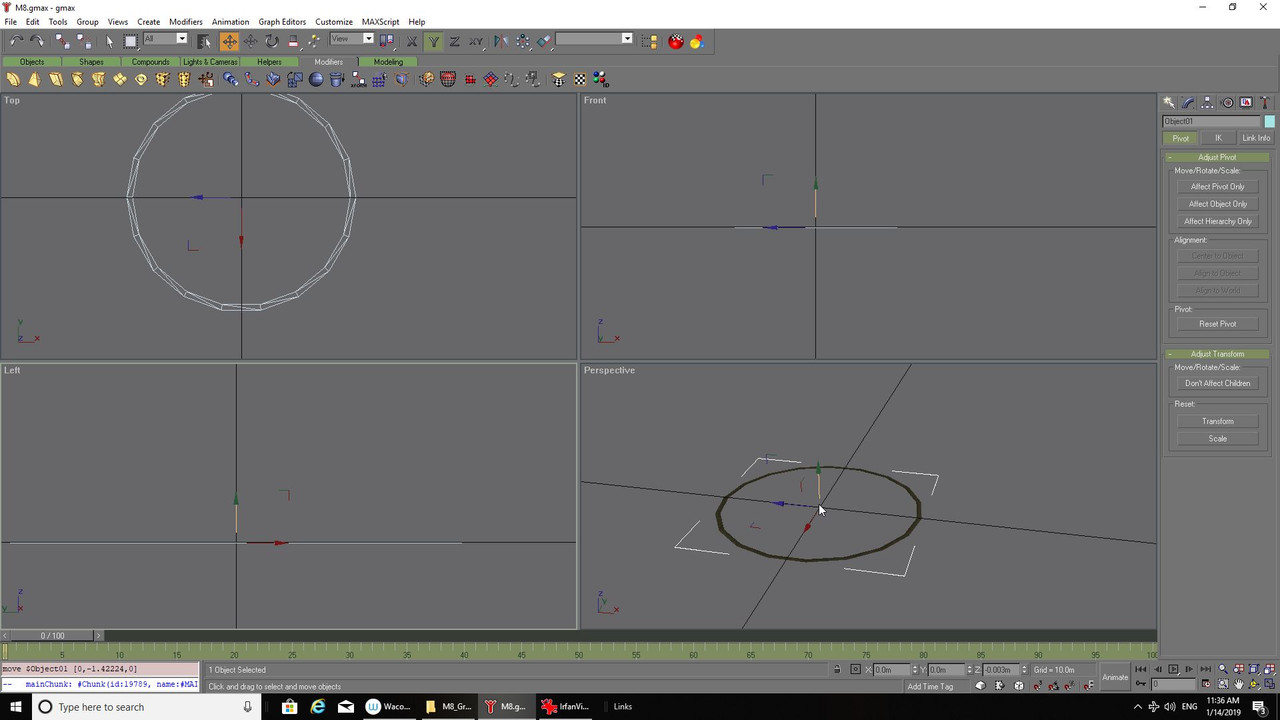
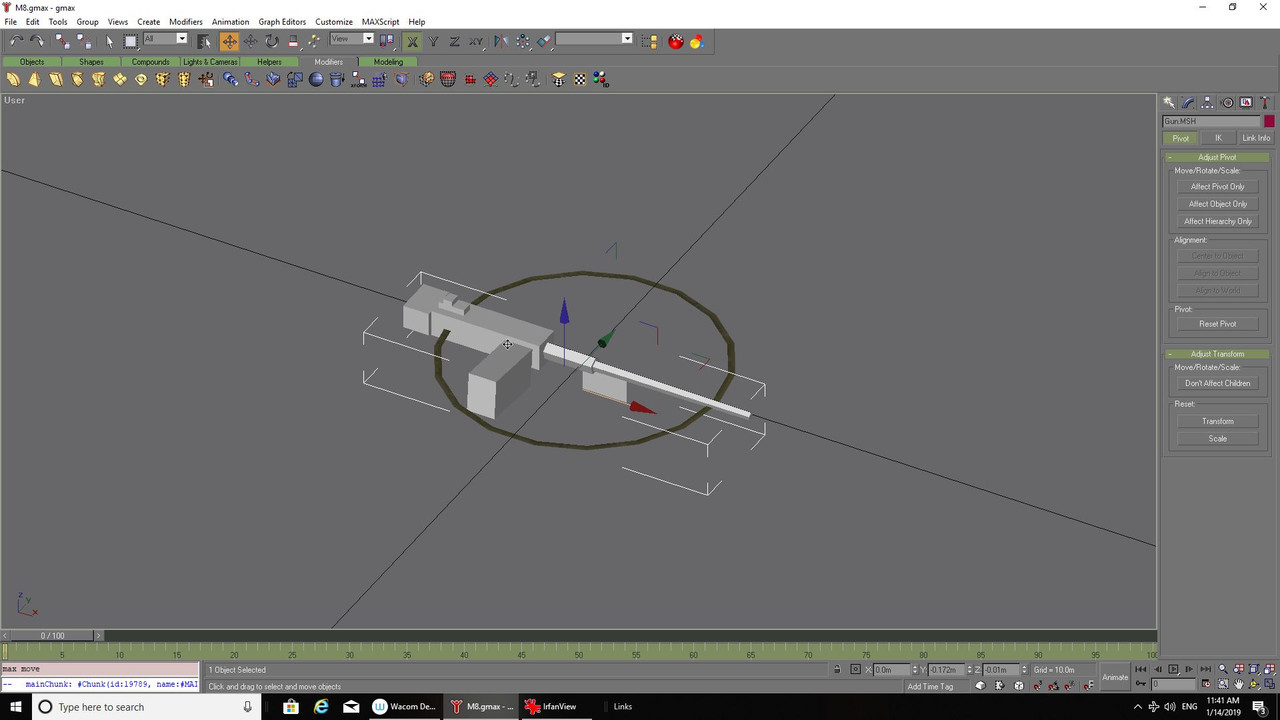
The turret and gun must have a centre point for rotation purposes, I also take them down to the base of the view although leaving them at the correct height might do:
Here I borrowed a gun from the Maz in the Stalker vehicles pack and did the same as with the ring, the head should rotate and the gun go up and down, at least I think that is the way the game intends:
Make a mount for the gun with a piece of bar shaped mesh and attach it to the ring to make a single part:
Do not attach the gun though it will be attached with the hier:
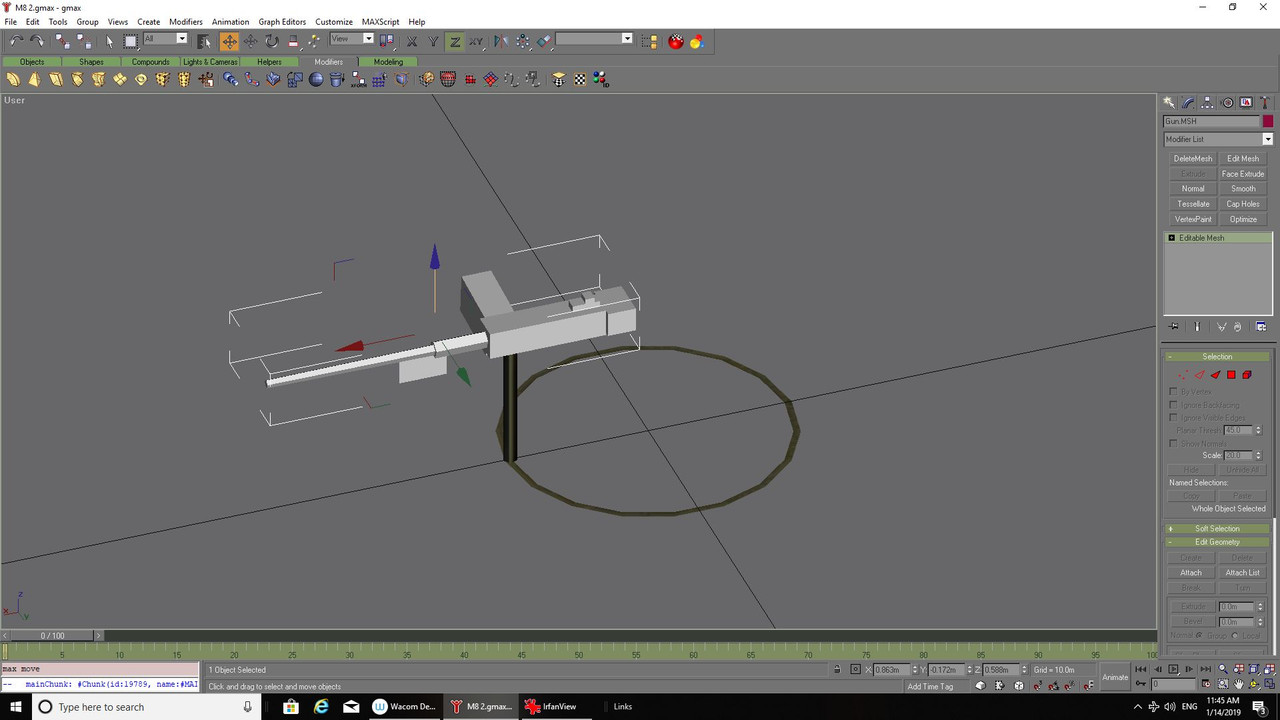
If you could see the body in game it would have wheels on and would be fixed to the ground, your parts would be on the floor. You now use the hier to move the ring and gun into position, up first and if necessary forwards, backwards or to the left or right.
The reason for setting the parts as I did earlier is so that they will move about that centre point whether your turret was up front as on the M6 Half Track or at the back. The ring will rotate and your gun go up and down. Not sure if the gun will rotate as well when aiming but you get the idea I hope:

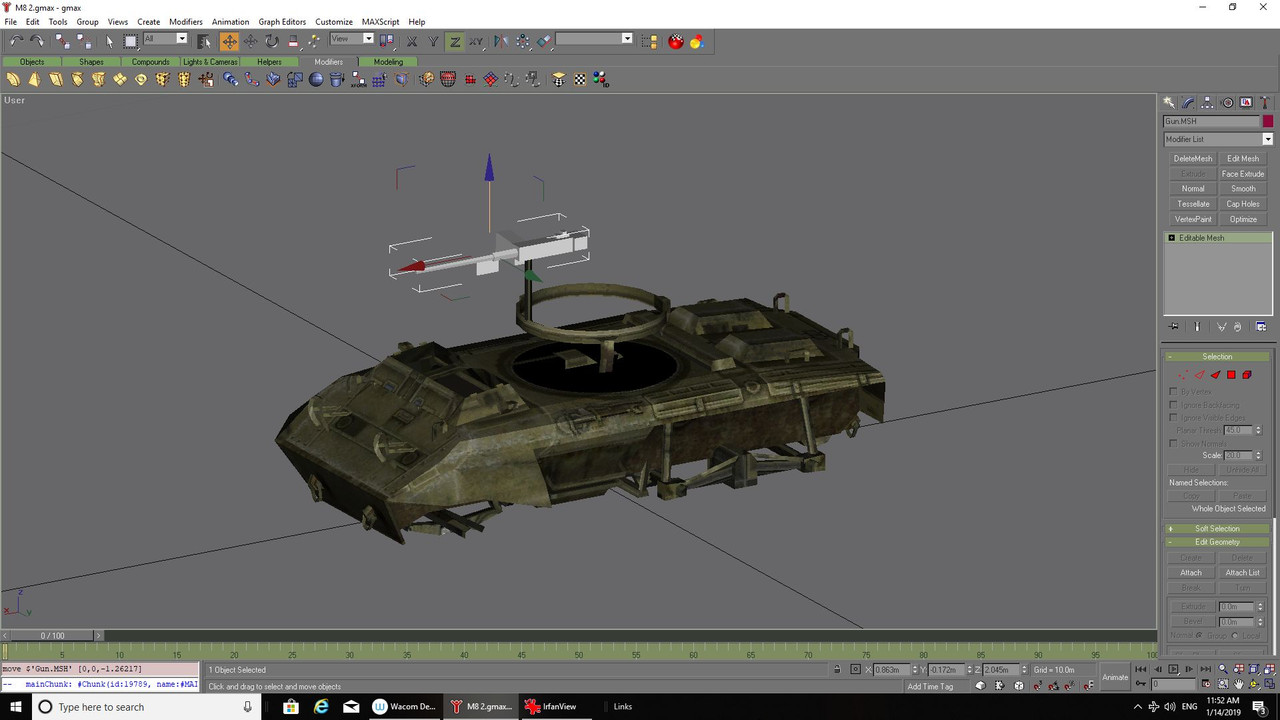
This is from the Maz with gun in the 'Stalker Project Vehicles for 4.12.2 update':
[_ROOT_]
VisibilitySphere 3.08835
CollisionObject sphere 3.06028 0.0 0.0 0.0
[Body]
Mesh Body
Parent _ROOT_
Attaching 1 0 0 0 1 0 0 0 1 0.0 0.0 0.0
CollisionObject Body
[Driver]
Mesh Driver
Parent Body
Attaching 1 0 0 0 1 0 0 0 1 0.198 -0.10 1.25
[Head]
Mesh Head
Parent Body
Attaching 1 0 0 0 1 0 0 0 1 -0.90 -0.0 0.0
CollisionObject Head
[Gun]
Mesh Gun
Parent Head
Attaching 1 0 0 0 1 0 0 0 1 1.0 0.0 0.0
CollisionObject Body
[Gunner]
Mesh Gunner
Parent Gun
Attaching 1 0 0 0 1 0 0 0 1 -0.87 -0.0 2.0
As you can see a driver and gunner were also added, looks like the turret parts only needed to be moved in one direction after extraction so I assume they would be at the centre of the Jeep and needed raising, however, all the above was done from memory so you might want to check the M6 or any Jeep type vehicle or armored car in game with a large caliber machine gun to help fill any gaps I missed.

As for a slot, try and find something using a single vehicle and either decompile the classes and change the vehicle name or see if there is a similar type of vehicle in the dumped classes Mike provides and rename that.
From there just follow the usual entries procedure and folder structure used in other vehicles in game.
I think western once told me there was no need to use a separate folder to use the vehicle as a artillery piece just add the entries.
Now sit yourself down with a bottle of Jack and read this again over and again and you might just be able to get your head around that little lot.

Take care.
Wishing you all the very best, Pete.


 Author
Topic: M-20 Scout Car (Read 2425 times)
Author
Topic: M-20 Scout Car (Read 2425 times)