FMB Tutorial Home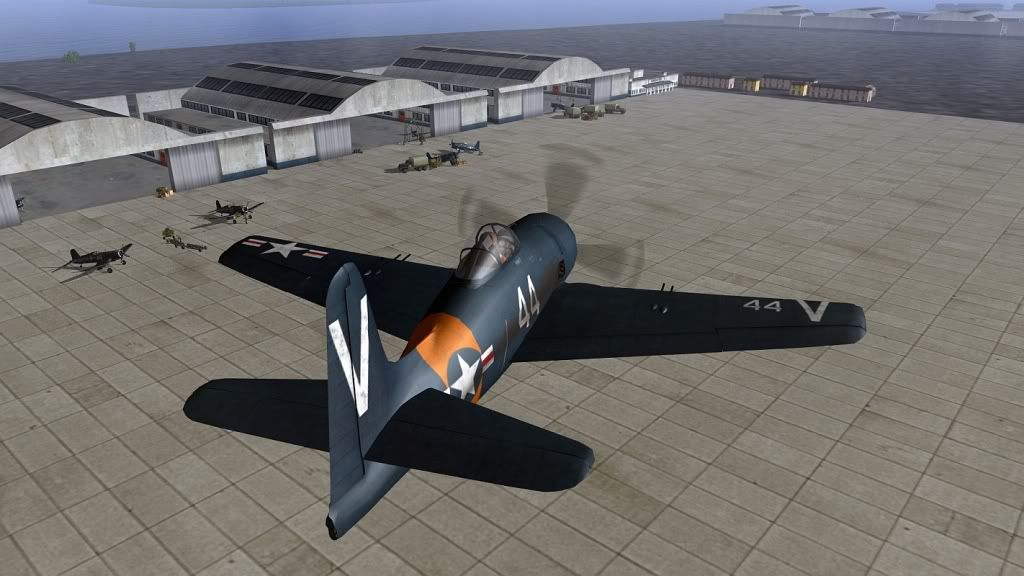
So far, we have a really nice mission with a complete flight plan, and interesting briefing and objectives. The next step is to bring our rather sterile airfield to life with objects. This is one my favorite aspects of the hobby - I've
loved being around airfields since I was a kid.
Oleg is sometimes criticized for having created a 'lifeless' sim... that's rubbish I reckon, all it takes is a little effort. And you're in for a treat... we'll give you a peek at some advanced tips to turn the FMB into a 'virtual station commander'!

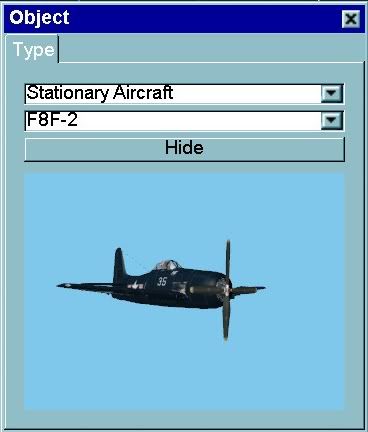
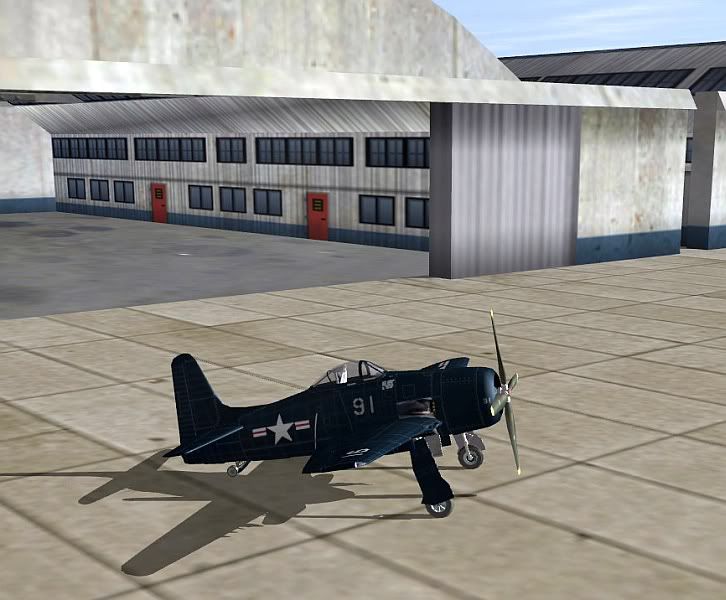
Open the 'Objects' window and select 'Stationary Aircraft' from the drop-down menu. I've made a stationary version of the Bearcat (there's a tutorial how at
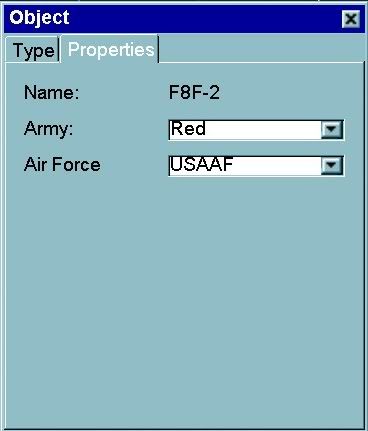
@edit: Dead link removed - my handle over there is 'WarBird') but just choose any aircraft that fits the scene you have in mind. CTRL-rightclick to place the stationary aircraft outside hangar one on the southwest apron (where our taxi objective was in Tutorial 04). Open the 'Properties' tab and choose 'Army': 'Red' and 'Air Force': USAAF - we don't have a US Navy option, however the USAAF option gives us US markings on our stationary plane, and will be just fine for the Navy and Marines too.
Let's have a look at the tools we have to manipulate objects in the FMB:
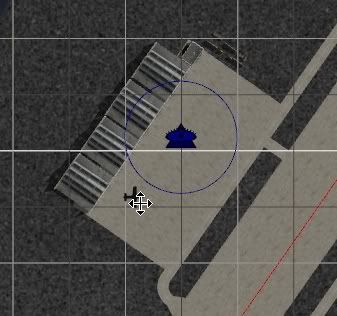
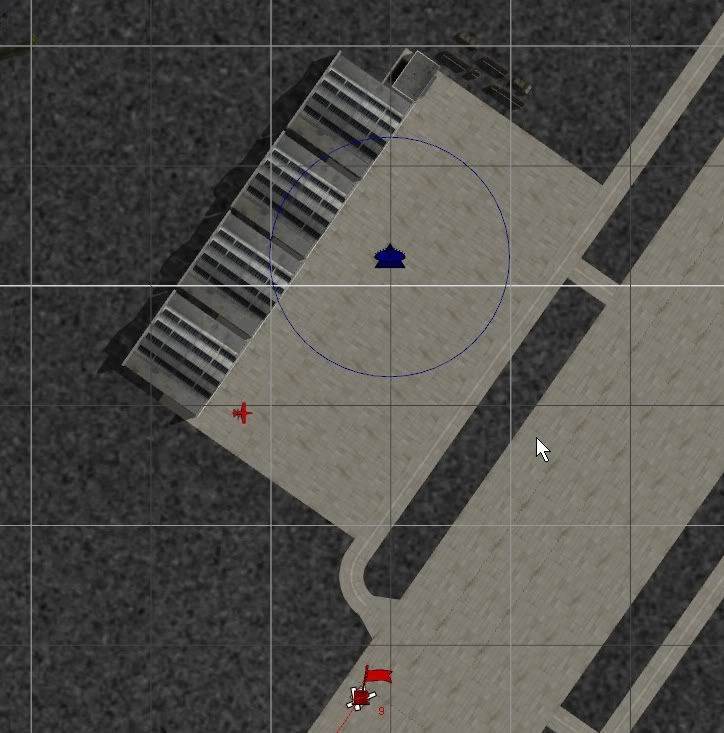
In the 2D world, leftclick and hold over the object. With the left mouse-button held down you can 'pick up' the object and move it around the world. Release the mouse-button to 'place' the object.
In the 2D world, leftclick the object (and release) and the object icon will change from red or blue to flashing black/white to indicate it is selected. Click Enter on your keyboard to enter the 3D world. With the object selected, you can now move the object around the 3D world just like 'The Gizmo' from Tutorial 02. Do you remember the controls?:
Use your mouse to pan around and zoom in the 3D world to get a good look at the surroundings. Move the mouse left and right to pan the view clockwise/anti-clockwise. Move the mouse forwards and backwards to tilt the view up and down. Hold down the left mouse button and move the mouse forwards and backwards to zoom in and out. Hold down the right mouse button and and move the mouse forwards/backwards or left/fight to move the gizmo around the 3D world.
In addition, there are three scales of movement in the 3D world: the F1, F2 and F3 keys. You can select coarse movement if you need to move an object to the other side of the map, medium movement, or fine movement for precise placement of objects.
Likewise there are three scales of rotation, on the keyboard number pad (in the 2D or 3D worlds):
- 7,9 keys: 5 degree changes.
- 4,6 keys: 15 degree changes.
- 1,3 keys: 30 degree changes.
and
- 5 key: Face East.
The 5 key is handy to set objects to a 'base' facing before using the rotation keys, handy if you want a group of objects to share the same facing (e.g. a group of buildings).
You can also rotate objects with the mouse in the 3D world with the mouse. Select the object, hold down the mousewheel and move the mouse left or right to rotate the object.
To delete an object, right-click the object and select 'Delete' from the menu, or select the object and click 'Delete' on the keyboard. If you delete one object with the cursor hovering over the 'next' object, the object beneath the cursor will be automatically selected - handy for selecting and deleting multiple objects.
Tip: For some advanced controls in 4.10 and later installs, check the 4.10 manual from Team Daidalos. These include selecting multiple objects; copying, cutting and pasting; and the grid-snap function. These functions are similar to those in the 'FMB Plus' mod for 4.09 installations, and they need to be activated in your conf.ini before you can use them. Great for productivity!
OK. Got all that?

Remember our briefing? The Chief was going to be waiting for us after the mission with some spare parts, and to make sure we hadn't hurt his airplane. So let's drag the static Bearcat over to the taxi objective, and create a story with objects:
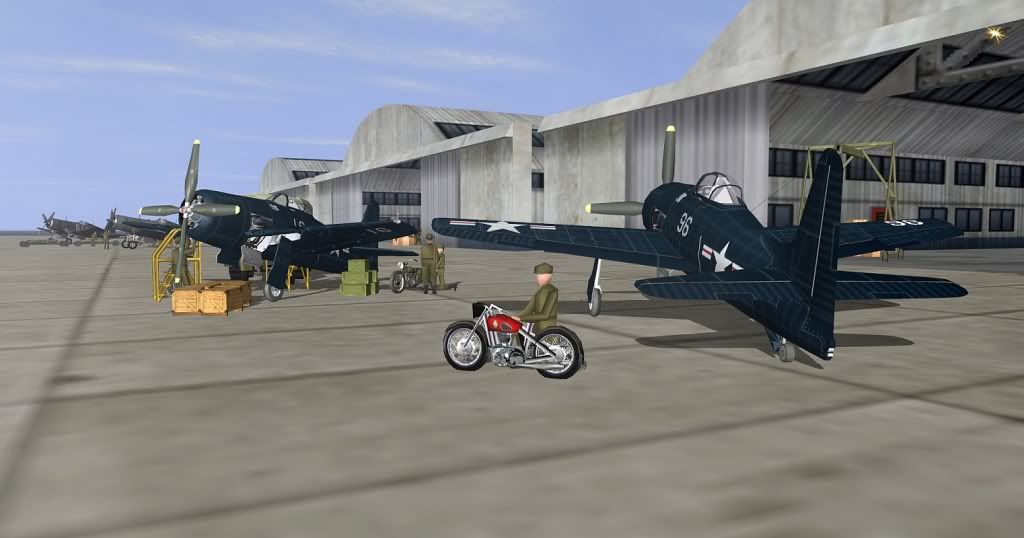
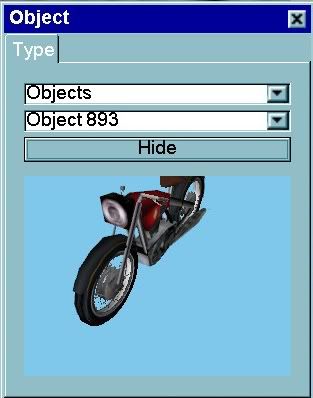
How does that look? Pretty cool huh. I like old motorbikes, so I like to include 'my' red BSA - when the mechanics aren't repairing my 18 cylinder radial, they're tuning my ol' BSA... good lads they are. It also helps me remember where to taxi after the battle!
There are tons of cool objects to download. Have a look around the site, I'm sure you'll find something to interest you!
Righto! Objects and Stationary Aircraft are cool, but to really create the illusion of a 'living' world we need to introduce some 'action' not directly related to our mission - almost all mission builders do this. Keep in mind the players field of view at different times in the mission - anything the player doesn't see is pretty much a waste of effort.
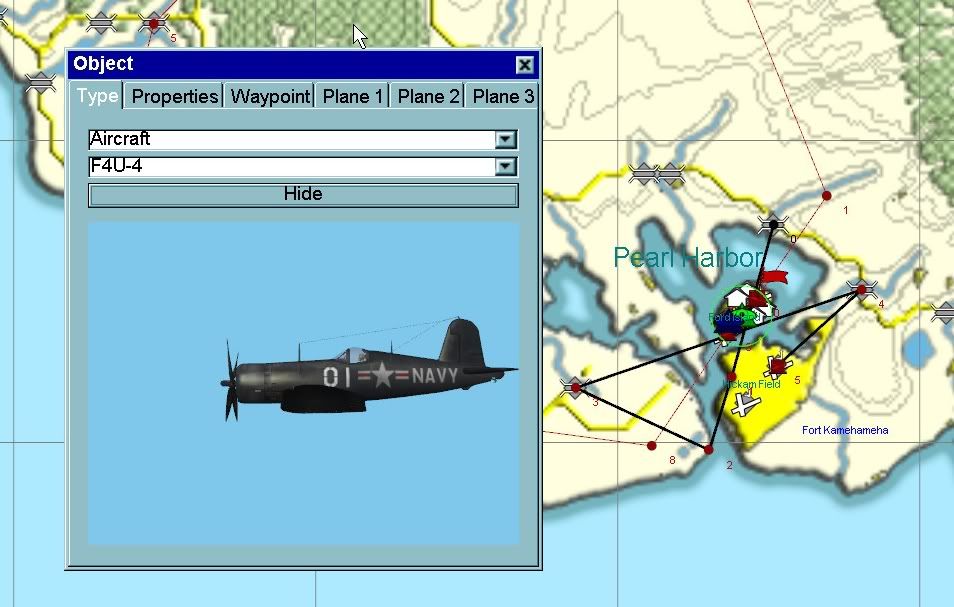
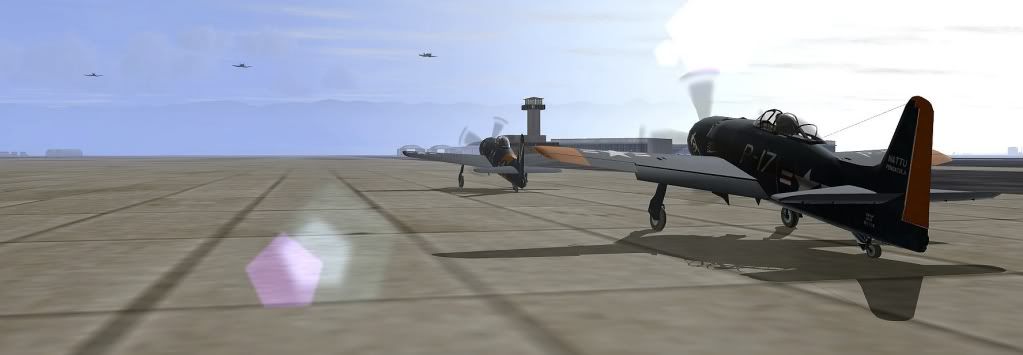
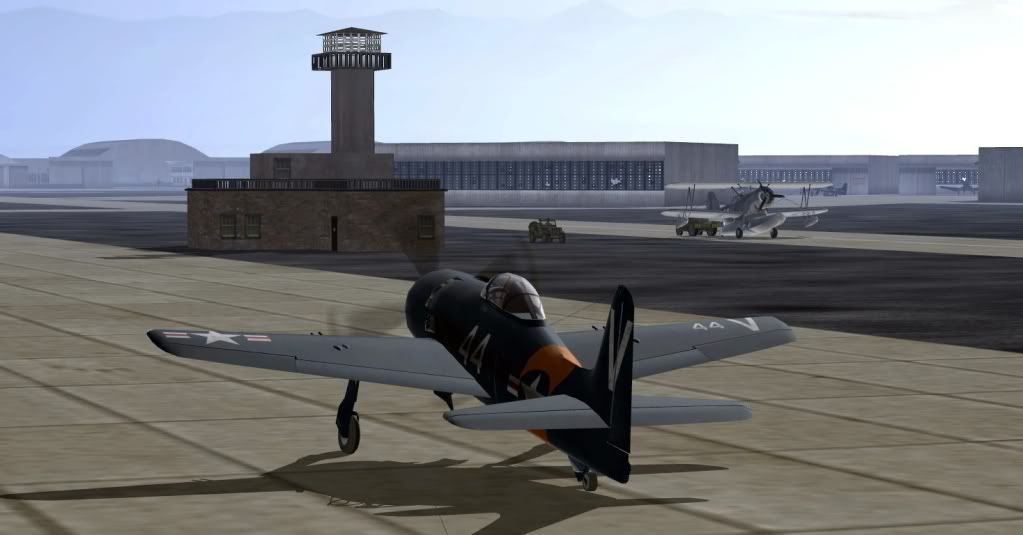
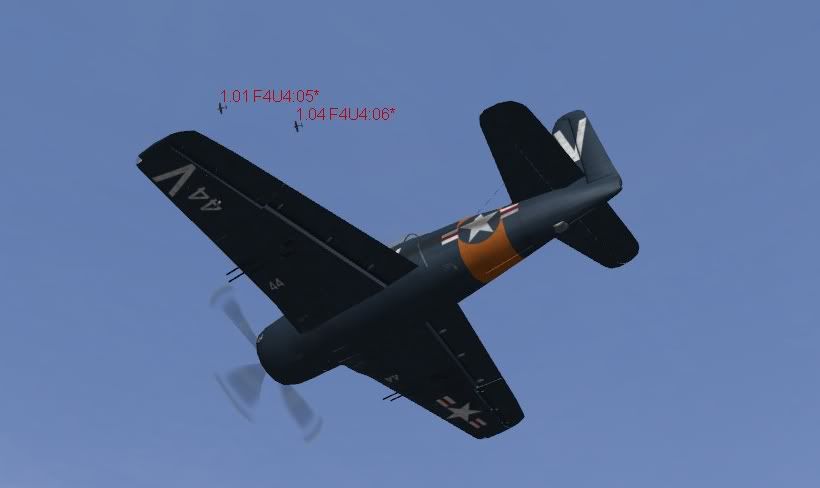
I've gone for a stock-in-trade set of vehicles in my mission: An overflight by some Corsairs as the pilot is preparing to take off (who will circle around and land at Hickam Field - I don't really want them landing at Ford Island where they might get in the way).
Tip: When you add a flight of aircraft to your mission for 'atmosphere' only, make sure they are from a
different squadron/regiment to the player's aircraft - otherwise they will turn up in the mission loading interface in-game, which you
don't want because they aren't
really part of the mission, they're just for effect. Make sense?

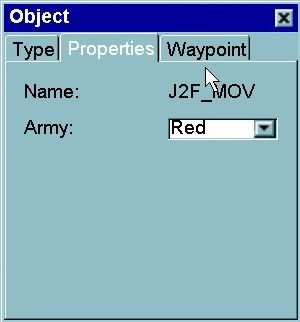
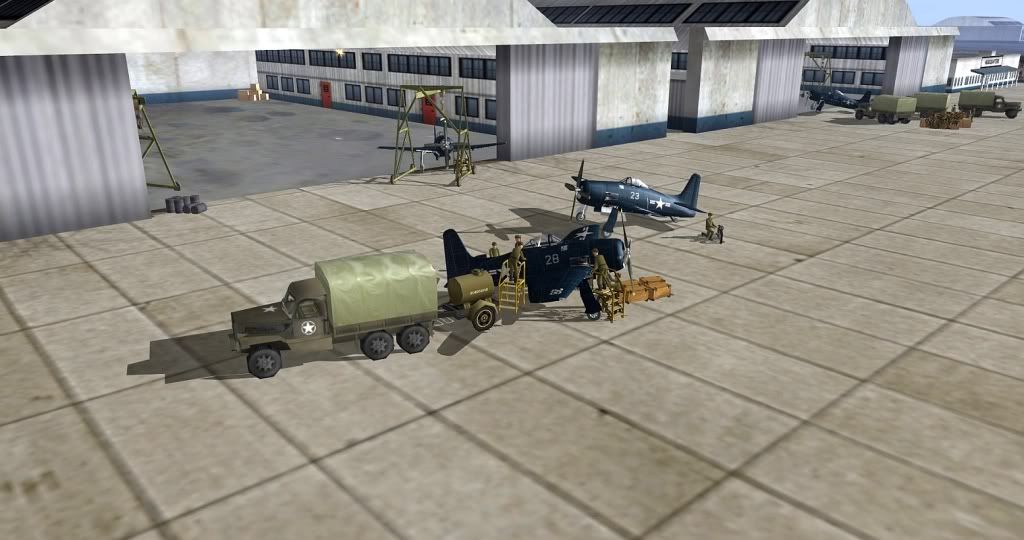
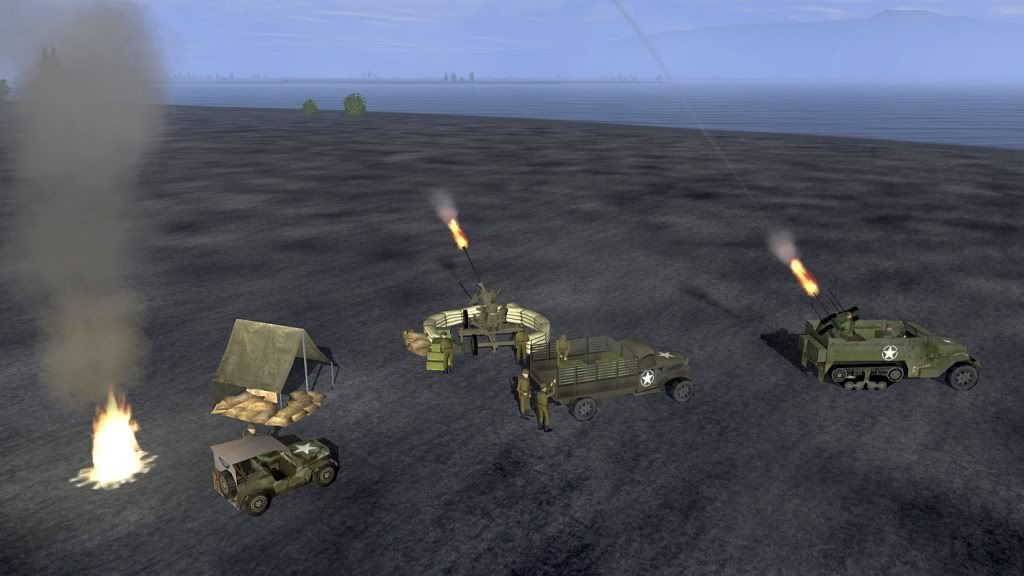
Add some vehicles moving around in front of the cockpit as the player takes off. This beauty is available to download right here at SAS, and is from the 'Objects' ---> 'Vehicles' drop-down menu (the chief.ini). Don't forget to give these guys 'Waypoints' so they can move around, and a side (red or blue) in the 'Properties' tab.
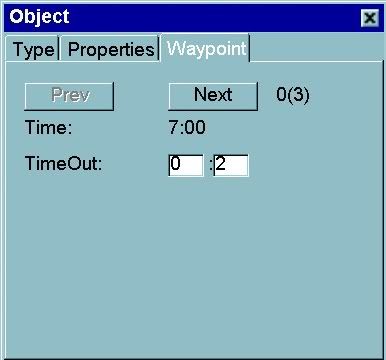
Tip: Here's how the 'TimeOut' function works for Vehicles - in the example, waypoint 0(3) has a Timeout of 2 minutes (0:2). At 07:00 when the mission begins, our J2 and Tug vehicle will move out from waypoint 0 to waypoint 1. When it arrives at waypoint 1 it will stop for 2 minutes before moving out again to waypoint 2. So in other words the TimeOut is a movement pause that applies at the
end of the movement associated with the waypoint to which the TimeOut was applied. It seems a bit ass backwards, but it is a common theme in the FMB that actions apply at the end of a waypoint, rather than the beginning - if that makes any sense at all! Keep this principle in mind - action at the end of the waypoint - often it's the solution to an FMB problem.

A couple of patrol boats in the harbor close to the flightplan are a nice effect too. We might as deal with the ship objects while we're here. Of course not
all your airfield scenes are going to include ships...
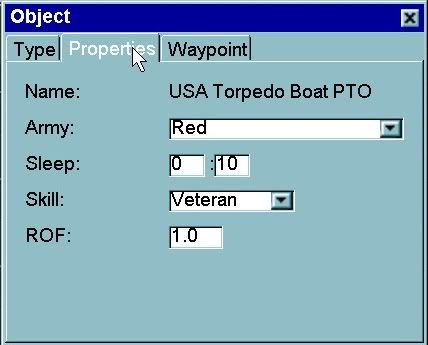
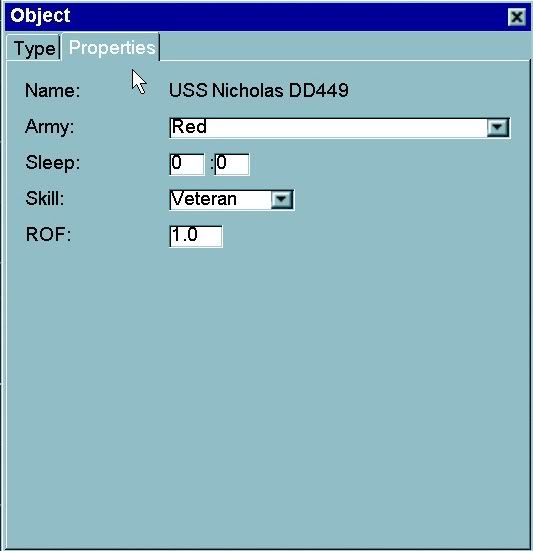
Here's the important things to know about ships: The 'Sleep' function applies to the gunners at the beginning of the mission. In the example, the Sleep time is set to ten minutes (0:10) so the gunners on this patrol boat won't 'wake up' and start firing their guns until ten minutes after the mission begins. This function could be used for example in a December 1941 Pearl Harbor scenario to simulate the effect of a surprise attack and the gunners rushing to action stations.
The 'Skill' function sets the accuracy of the gunners. On the rookie setting, they won't hit the side of a barn (or a battleship) and on the Ace setting they'll hit anything that moves (or not). Really, the only way to determine which is the 'correct' setting for any particular mission is to test play until you get the results you desire - there are just so many variables. The 'Average' setting is usually as good a place as any to start.
The so-called 'ROF' (Rate of Fire) setting is actually a multiplier of the 'Reload Time'. 1.0 (as in the example) is what the developers have designed as the historical reload time for each of the ship's weapons. Usually though, this gives an in-game volume of fire that is too high for gameplay purposes, and too high for performance considerations (frame rate). Most expert mission builders recommend a ROF setting of between 2 to 5, which is generally considered to halve the volume of fire in-game. It does all depend on the scenario though, and again, you'll need to test play to get the results you desire.
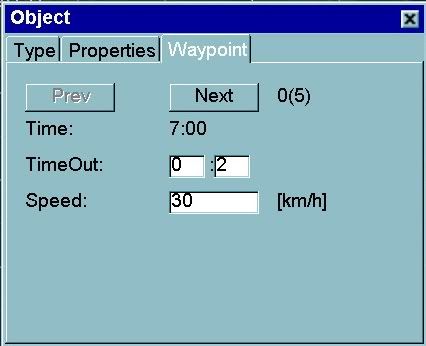
The 'TimeOut' setting is similar to the situation for vehicles (as covered above in this post) except - just to
prove that Russians have a sense of humor - in the case of ships the timeout applies to the beginning of the waypoint leg, not the end. Go figure!

In the example above, the patrol boat will pause for two minutes at the
beginning of waypoint 0 before steaming to waypoint 1 - make sense?
Ship AI: unlike planes and vehicles, ships have
no AI collision avoidance routines - they will navigate
strictly as per the waypoints you plot. I recommend keeping the plots for ships as simple as is required to achieve your goals for the mission design.
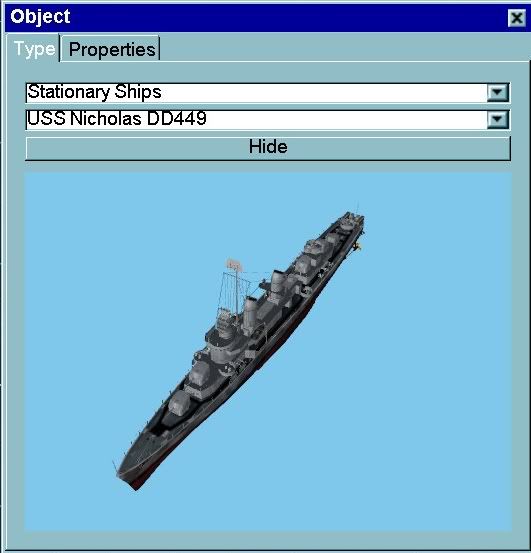
'Stationary Ships' are basically the same as the moving versions except you can't give 'em waypoints. They're great for populating harbours, as the FMB will allow you to place them close to shore, which is
not the case for the moving ships. Actually, if you check out the advanced tips below, we'll show you how to plot ship waypoints in harbor - just so you can impress your mates!
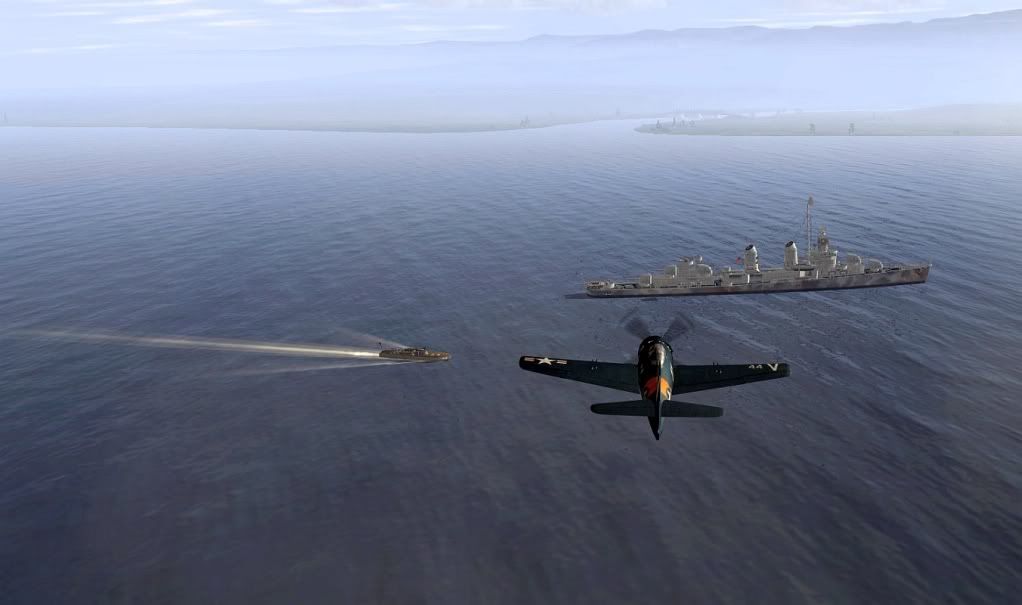
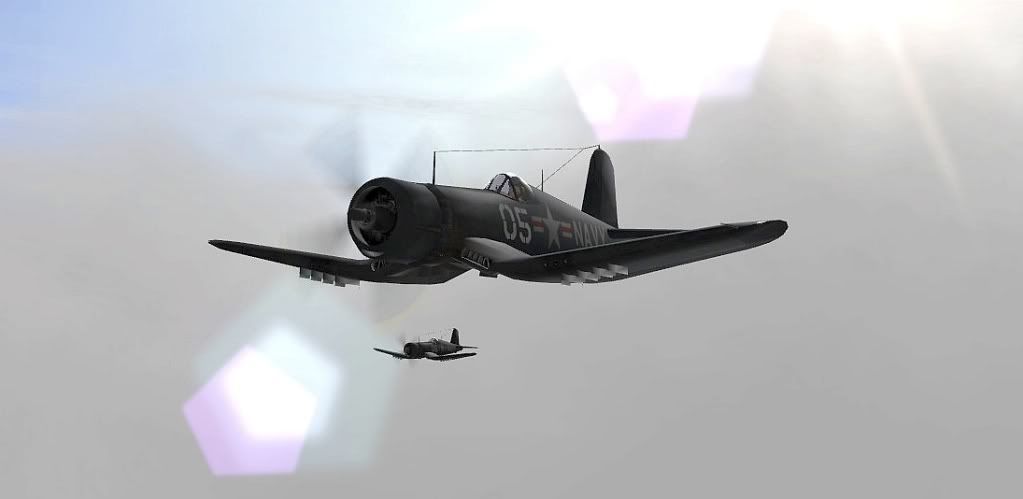
Here's something else you might like: I sometimes have a friendly AI flight following a roughly reciprocal course at the end of the player's flightplan. It adds some atmosphere to see them fly past as I head back to base,
and it opens up the opportunity for some tactical ploys: I'm not likely to get in trouble with
this particular intercept mission - but as we make our missions harder and add some random elements too, a much tougher fight is definitely on the cards. A reciprocal flight like this one can be called up for assistance in the flight command menu,
or if I've had a bay day at the office - low, slow and defensive - I can always try for a 'drag' maneuver and lead the enemy to an unfavorable position for
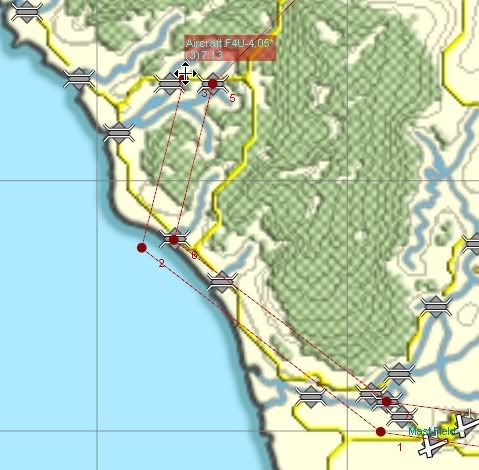
this flight to exploit. It adds an interesting twist to the gameplay and just may be something you would like to try - never go in to battle without backup, just like a movie cop! If I don't give this AI flight a landing waypoint, they'll loiter at the
last waypoint and have my back while I land. I've set these guys to patrol above my rally point, where they won't be in the way unless I need 'em. I've air-started them at 07:00 (the mission start) so I don't get a 'stutter' by spawning them later in the mission, and then plotted a simple course so they get on station about the time I should be completing my intercept. And I made sure they had plenty of fuel.


I might need these fellas when we ramp up the action in the next few missions! If I
do call 'em up - they'll escort me all the way back to base. Nice.

Other guys like to set up a bit of a 'flak-trap' at their airfield to perform a similar purpose to the friendly reciprocal flight. Remember your AI wingmen are pretty much defenseless when they enter the landing pattern, so a bit of help is a good idea. It's not much fun when a mission ends in an endless defensive pursuit - so give it some thought. You may
want a backs-to-the-wall battle sometimes... but not
every mission, right?
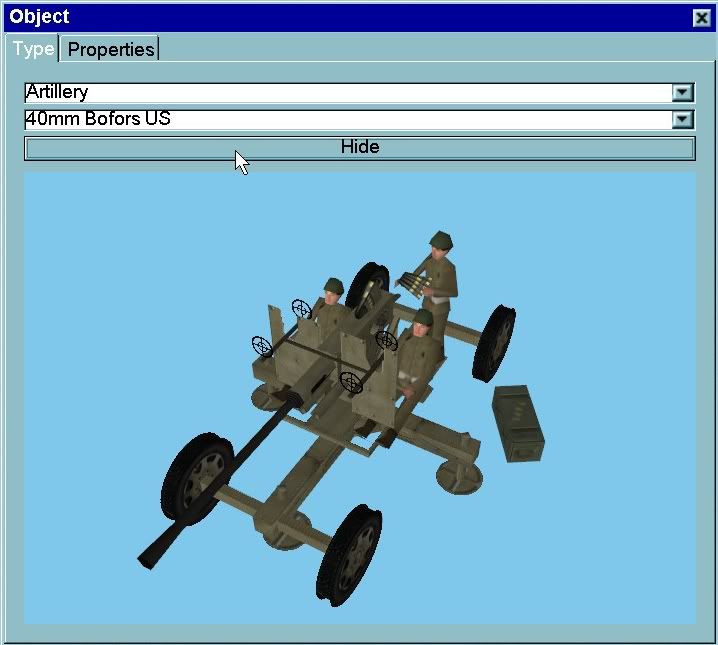
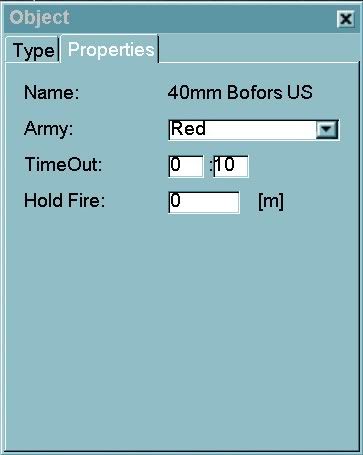
Here's how to set up 'Artillery' objects ('Stationary Armor' works the same way). Don't forget to pick a side, red or blue:
'TimeOut': Just to confuddle us, here the TimeOut function works the same as the Sleep function for Ship objects. In the example the TimeOut is set to ten minutes (0:10) so the Bofors will not open fire until ten minutes after mission start at 07:10 hours. You can use this to simulate a surprise attack or the gunners getting to action stations.
'Hold': is a pretty cool function. Us it to set the range at which the gunners open fire. You could say, set up an anti-tank ambush where the gunners wait until they "See the whites of their eyes chaps!" before letting the bad guys have it.
Tip: Don't get confused with the artillery objects in the 'Stationary Objects' menu. Stationary objects do NOT fire.
Tip: Always test fire your artillery and armor objects. (Place a temporary object/target in the mission for testing if you need to, and remove it later.) Nearby objects (like bunkers and fortifications)
may prevent the artillery from firing. You also need to test the orientation of the weapon, and range and line of sight, to ensure your mission will work as you intended.
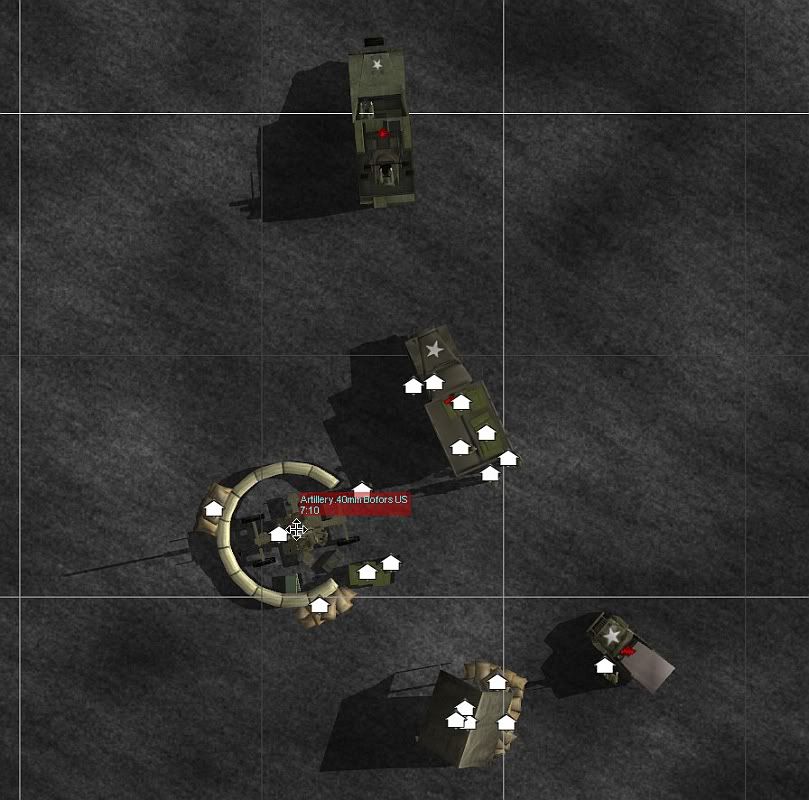
If you mouse over the Bofors in the 2D world you can see the TimeOut (07:10). Handy.
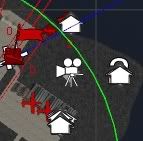
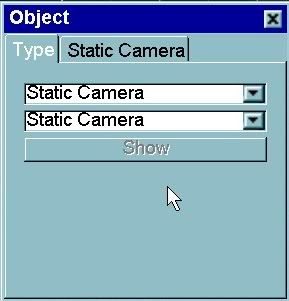
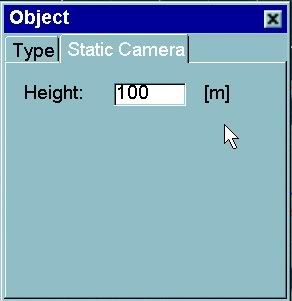
'Static Camera' objects are great for checking out how your mission is working. And for movie making. You might even find a reason to use 'em in game - sorta like a poor man's cut scene to watch some ground action for example. Don't go too nuts with cameras, they are said to cause a frame rate hit. You can pick an altitude (Height: 100m) for them too.
Hit CTRL-F2 to cycle thru your camera views in-game (it's the same command that cycles the enemy aircraft external camera).
Well, that's all I can think of for the basics about getting objects into your missions and bringing the game world to life. You can do as much or as little as you like. Myself, I usually fly the mission from the FMB a few times, and add a few more objects each time... adding a little more each time to the 'story'. I almost enjoy the FMB as much as flying. I hope you do too!
Read on to the next Tutorial for some advanced tips to get your airfields
really humming!
FMB Tutorial Home


 Author
Topic: FMB Tutorial 05 - Bring Your Airfields to Life With Objects! (Read 8076 times)
Author
Topic: FMB Tutorial 05 - Bring Your Airfields to Life With Objects! (Read 8076 times)