FMB Tutorial - Home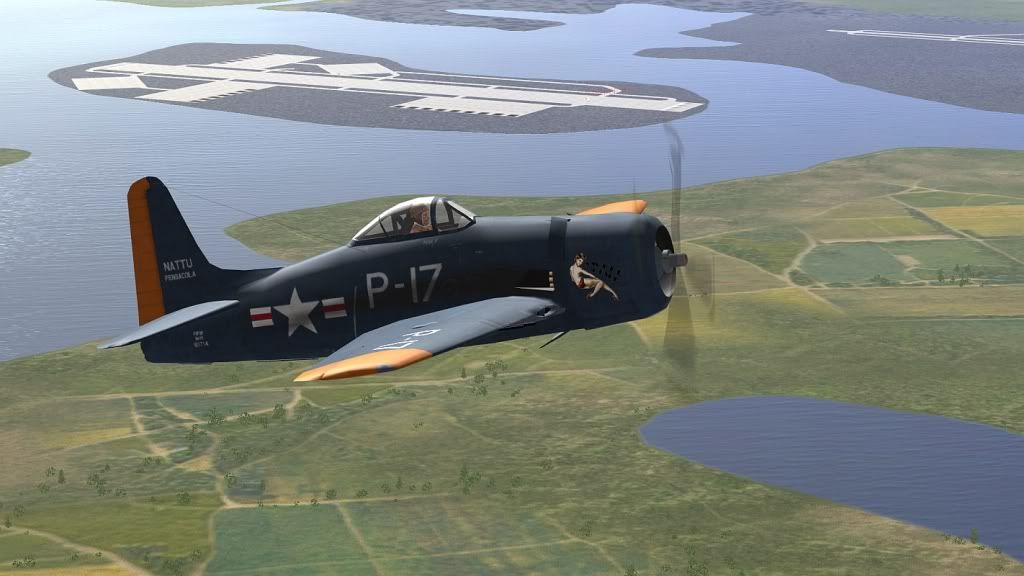
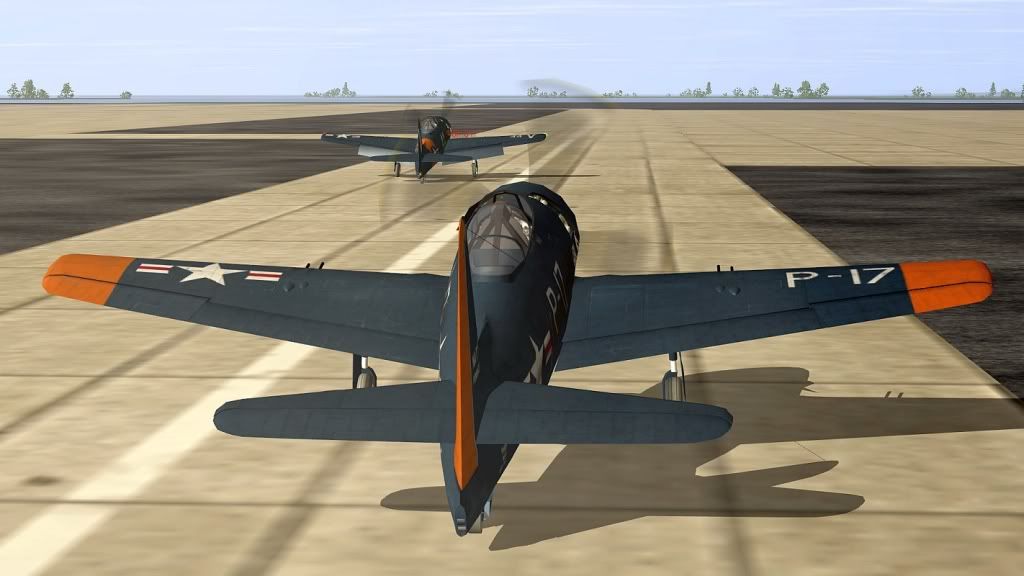
'Red Two' safely in the landing pattern while the player touches down in the background.
Since we're doing so well thus far, let's open up 'Ford Island Scramble' in the FMB again, and save it as
'Two-Ship Scramble'. We're leveraging the 'template' concept again to save time and create an interesting new mission with a minimum of work. We're going to add some wingmen and check out some of the special ways the AI handles our flightplan, and add some objectives to spice up our mission!
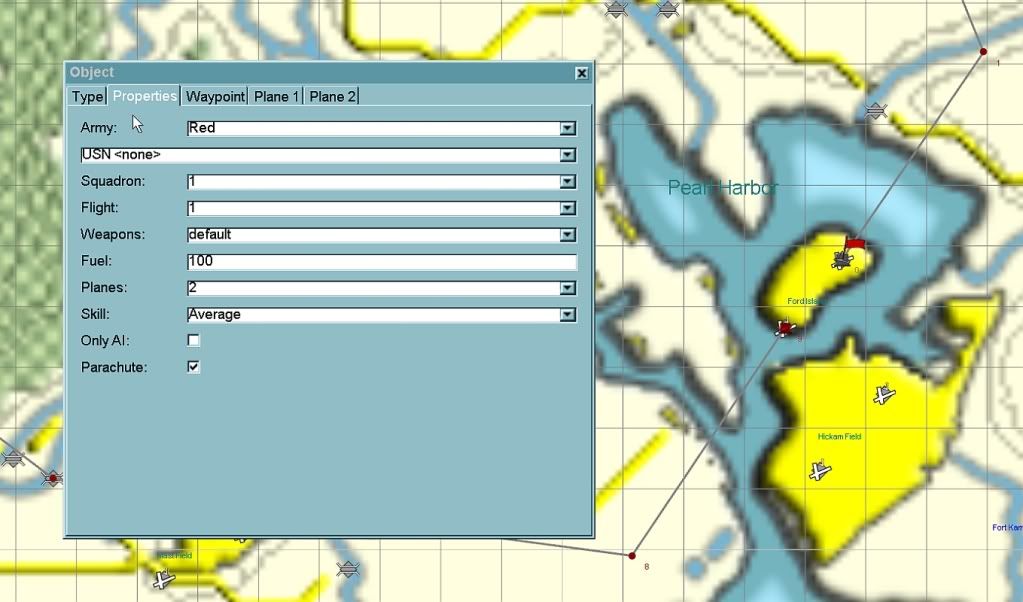
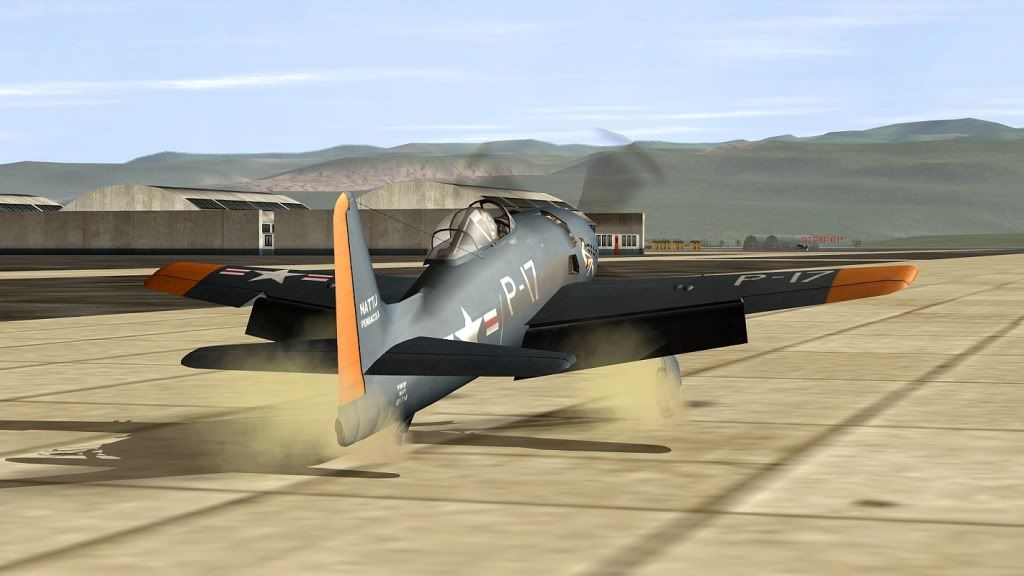
Add a wingman to the player's Bearcat flight. Select 'Planes: 2'
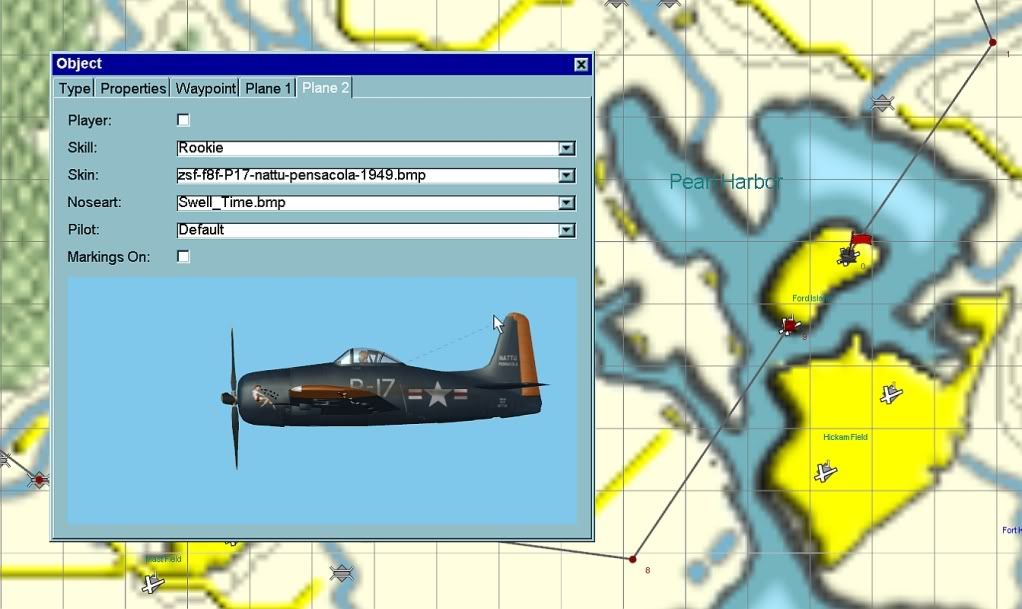
Let's make him a rookie to make the mission even more interesting - so as you'll have to keep an eye on him. We've given him a custom skin and some nose art to make him a bit more interesting still. As our missions get more involved and complex, hopefully we'll be that much more invested in our wingman 'character'.
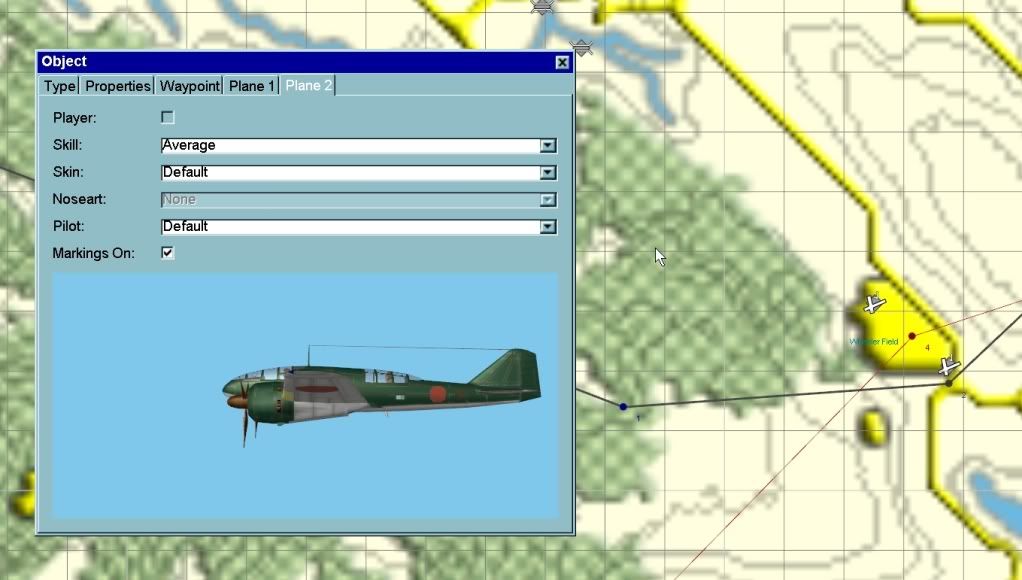
Add another aircraft to the enemy recon flight too. The default settings will be fine for this guy.
Simple right? Let's continue juicing up our mission a bit, by giving it a
real purpose.

Our flight plan is nicely set up to intercept those pesky Ki-46s over Wheeler Field, so lets up the ante with the 'Destroy Target' Objective!
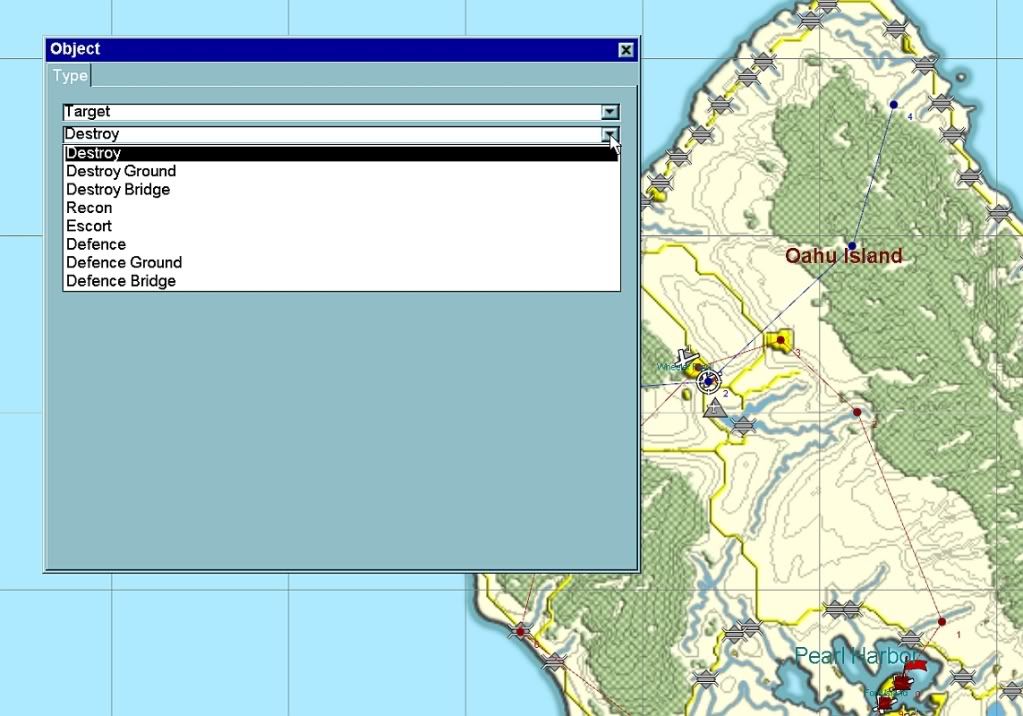
Open the 'Object' window and scroll down to 'Target' in the 'Type' tab. Then scroll down to 'Destroy' and Ctrl-Click near any of the Ki-46's waypoints (our blue 'target' waypoint '2' over Wheeler Field will be perfect) and you'll see the target icon automatically attach to the closest enemy aircraft - our old adversary!
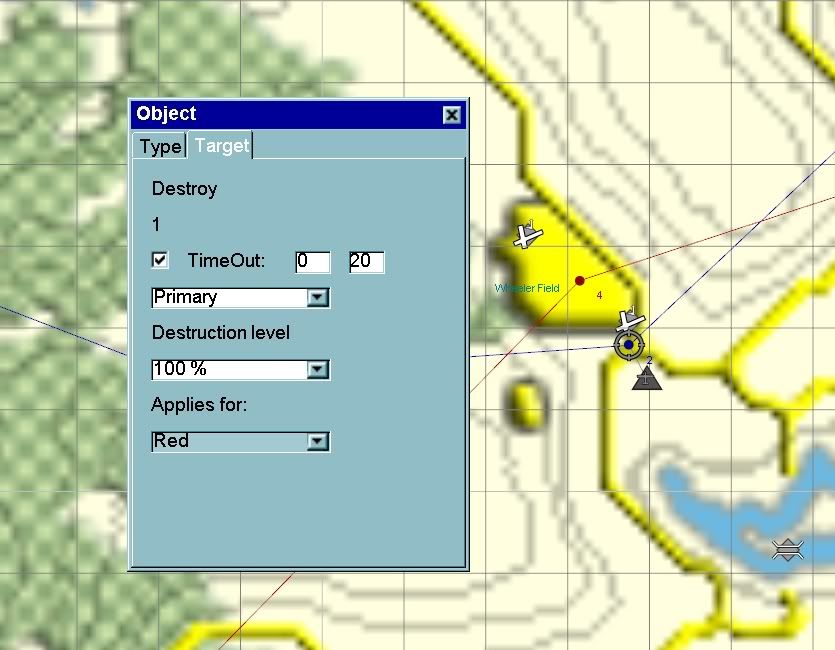
Click on the 'Target' tab in the 'Objects' window and you'll see our target listed at the top of the tab ('1') and some more options. Our main objective in this mission is to stop the Ki-46 from escaping with vital intelligence, so we'll select this as our 'Primary' objective. (The other options are 'Secondary' and 'Hidden' - we'll get to them soon.)
Let's ramp up the mission even more!
We don't want to give our bandits a chance to radio the critical intel back to base, so we'll give the objective a 20 minute time limit. Check the 'TimeOut' box and set it to 0:20 minutes.
Because our target flight has two aircraft, we have the option of setting a destruction level. It only pertains to the
number of aircraft in the flight - so if we set it at 50% we would need to destroy one aircraft to accomplish the objective. If the enemy was a four-ship, we would need to destroy two. Makes sense, no? If the flight was just one individual aircraft (like in 'Ford Island Scramble') the destruction level would
not apply.
Our mission is to prevent the enemy getting away with our secrets - so we'll need to knock down
both our bandits to win the mission - set 'Destruction' to 100%.
Let's juice up our story in the 'Mission Description' window, here's mine:
Mission Name: Two-Ship Scramble
Short: Enemy air recon is probing West of Oahu Island, two bandits have been spotted, headed East for Wheeler Field! Scramble at once...
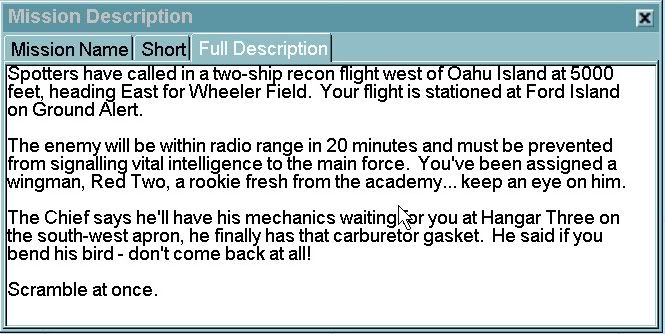
Full Description: Spotters have called in a two-ship recon flight west of Oahu Island at 5000 feet, heading East for Wheeler Field. Your flight is stationed at Ford Island on Ground Alert. The enemy will be within radio range in 20 minutes and must be prevented from signalling vital intelligence to the main force. You've been assigned a wingman, Red Two, a rookie fresh from the academy... keep an eye on him. Scramble at once!
So far, so good.

Should be a pretty tense mission... we've got to shoot down both recon birds within 20 minutes to stop the bad guys getting away with the intel,
and we've got a rookie wingman to look after... What orders will you give your wingman when you get to the initial point - will you tell him to cover you and stay out of trouble? Or split your forces to shoot down the enemy before they get within radio range?
Shooting down the bad guys isn't the end of our day's work though, we still need to get safely back to base. We're familiar with our flightplan back to Ford Island by now...
this time though, since we have a wingman, let's take a minute to look at how the AI 'sees' the flightplan:
The easiest way to understand this is to let the auto-pilot fly the rest of the mission, and observe the in-game map window. When the AI reaches the second-last waypoint (the waypoint immediately prior to the landing waypoint, or our 'lineup' waypoint '8' in this tutorial) it will automatically load a discrete 'landing pattern' flight path, which it will then happily proceed to follow.
Tip: When you order your wingmen in-game to 'return to base'
this is the waypoint they will fly to,
not the landing waypoint.
You might want to think about making sure this waypoint has some vertical separation from where
you will be. While you're lining up on the runway, your wingmen will be flying to this precise spot in the the 3d world to enter the landing pattern, so you don't want to tangle with them. If you figure you'll be at about 600ft (200m) with your flaps and gear down ready to land, make this waypoint 900ft (300m) to give you 300ft (100m) separation.
You might also want to think about the previous waypoint '7' - our 'approach' waypoint. As you get close to the approach point you can enter the flight command menu to change formation to line astern (the AI will do this automatically
at waypoint '7' anyway, but you may find it helpful to prepare your approach a little earlier) and then queue up the navigation command 'Return to Base'. As you cross the approach point enter the 'Return to Base' command and your wingmen will navigate to waypoint '8' under their own steam. As
you're losing altitude and speed ready to lineup, your
wingmen will pass safely above and in front of you en route to waypoint '8' to enter the AI landing pattern.
You may want to try this a few times, and adjust your waypoints to suit your own flying style. The objective is for you to complete your approach, lineup and landing with a safe element of separation from your AI wingmen.
Note: We're employing a nine waypoint 'template' for our flightplan in this tutorial. You may decide to have more or fewer waypoints - the critical point is that the AI loads the landing pattern when it reaches the second-last waypoint
before the landing waypoint, whatever waypoint that is. And... if you
don't have a landing waypoint (like our blue Ki-46 flightplan) the AI will simply fly to the last waypoint and orbit - you can exploit this feature in your mission builds also: for example our Ki-46s could fly to a Japanese destroyer and orbit above it while they 'signal' the intel, if you don't shoot them down in time you lose the mission.
 Here's another tip:
 When an AI aircraft enters the landing pattern in-game, it's lost to you for good. It won't respond to commands, and it won't maneuver to defend itself if attacked. You DO NOT want your second-last waypoint to be in the battle area - your missions will be awful!

In-game and in-battle, if you
do order your wingmen back to base, you
can still recall them,
provided they haven't actually reached the second-last waypoint. Comprende?

OK. Time for a check flight. On mine, I
just missed winning the mission! I decided to order my wingman to 'cover me' and take out both bandits myself. My pass on the first bandit was good, he was smoking and losing altitude so I broke off immediately for bandit number two - he went down in flames on the first pass. Only then I noticed the first bandit was gaining altitude again... vertical scissors to get on his tail again... and the objective timed out just 30 secs before he went down. Nice mission, and achievable if I'd flown just a
little bit better. On the way home I had plenty of separation from my wingman as I made my approach and lineup... all in all, a pretty good job.
 Here's something you might want to think about:
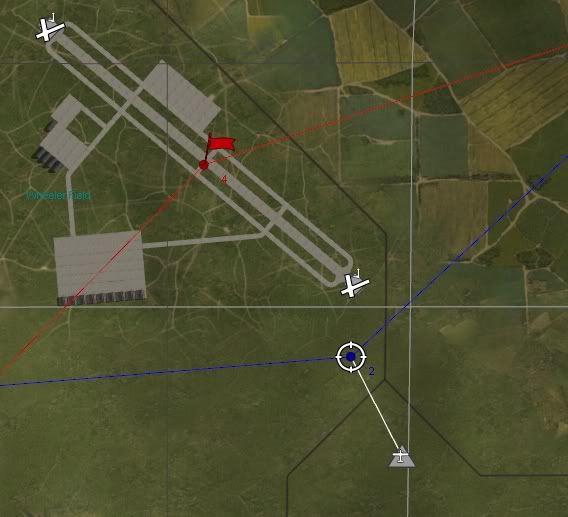
 When you're building missions for yourself, or to share with other offline players, the AI is a BIG part of the experience. For example, once all the targets are destroyed (and depending on the orders you have issued earlier in the mission) 'Red Two' breaks off and flies to the
next blue waypoint, in this particular check flight to the blue 'target' waypoint '4' over Wheeler field, where he loitered until I ordered the element to 'Rejoin'. Remember we planned a blue 'rally point' at waypoint '5'? In part, this was the AI behavior we had in mind. My wingman rallied at waypoint '4' rather than waypoint '5' because it was the
next waypoint - our element hadn't yet crossed waypoint '4', having arrived a fraction late and intercepted the Ki-46s
north of Wheeler Field. You might decide in a case like this to lengthen the first section of the
blue flight plan to ensure the intercept occurs a minute or two later, closer to Wheeler Field, in which case our wingman would be more likely to rally at the intended waypoint '5'. Or, you might be happy as is.
The point is that many IL-2 fans malign the AI. I don't think it's all that bad. The thing is to realise that the software doesn't care about your expectations... it is what it is. The trick is to check fly the AI under a wide variety of scenarios, wingman or flight commands etc...
observe how the AI behaves, and factor that information into your mission building, and even into your gameplay.
Here's an example of what I mean, from when I was a new IL-2 player at M4T:
http://www.mission4today.com/index.php?name=ForumsPro&file=viewtopic&t=7195That series of posts is by no means complete and is well out of date now, but it does illustrate the idea of
observing the AI - and from there you can mission build accordingly. Remember too, patches and mods can change the way the AI behaves, and different aircraft can also behave differently in certain situations. If you build a mission to exploit an aspect of the AI, and you decide to share it with your mates, don't forget to tip them off about the particular flight command (or whatever) in your briefing. And if the whole AI thing isn't your bag, that's cool too.
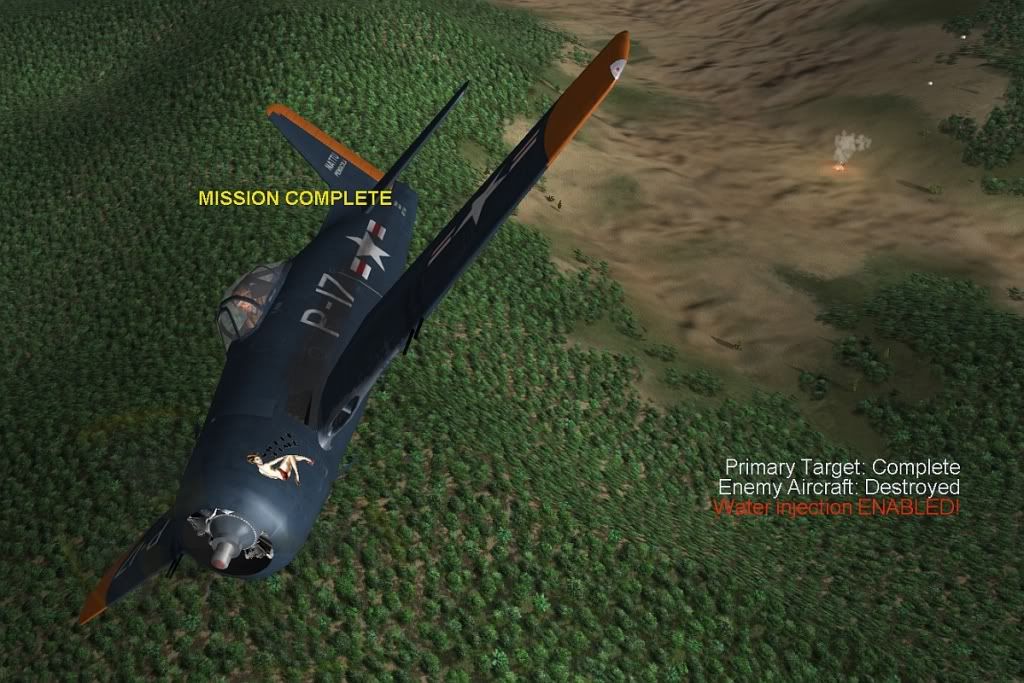
Let's check out what happens to our mission score...


... so, we scored 400 points for shooting down two enemy planes, and 50 bonus points for completing the primary objective.
Nice!
We can also encourage the player to complete the mission professionally by rewarding him for bringing his bird back to base in one piece, ready to fight another day. Let's look at some clever ways to use the 'Recon' objective in the next part of our tutorial...
I'm really enjoying this scenario - Gerd's Bearcat is a pleasure to fly, and just last nite I installed the new SAS Corsairs which fit right into this theme of high performance, piston engined naval aviation - I'm sure I'll find a use for 'em.
I've been flying around a bit with Red Two - he's not a bad young fella - and Hawaii sure is a nice place to be stationed. The whole thing is starting to come together in my imagination as an 'IL-2 1946 Alternative History' type gig where maybe Midway was
not a decisive victory for the US, and the Pacific War has been ebbing back and forth between Midway and Hawaii for several years... so that now we have advanced piston fighters duking it out with Imperial Japan. I usually like historical missions myself, and this scenario started as a bit of a lark for the tutorial... but hmmm... just maybe the
Yamato is stalking around out there somewhere?
Anyways, in the here and now, let's take a look at one of my favourite Flying Nutcase tricks:
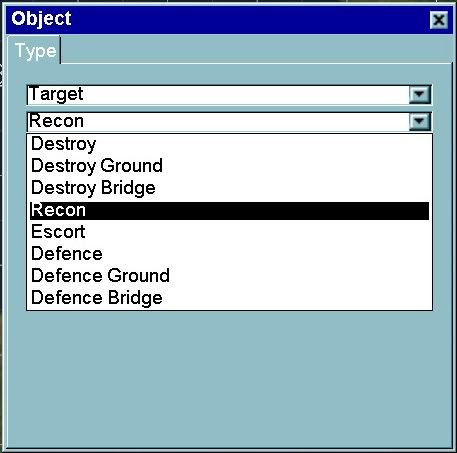
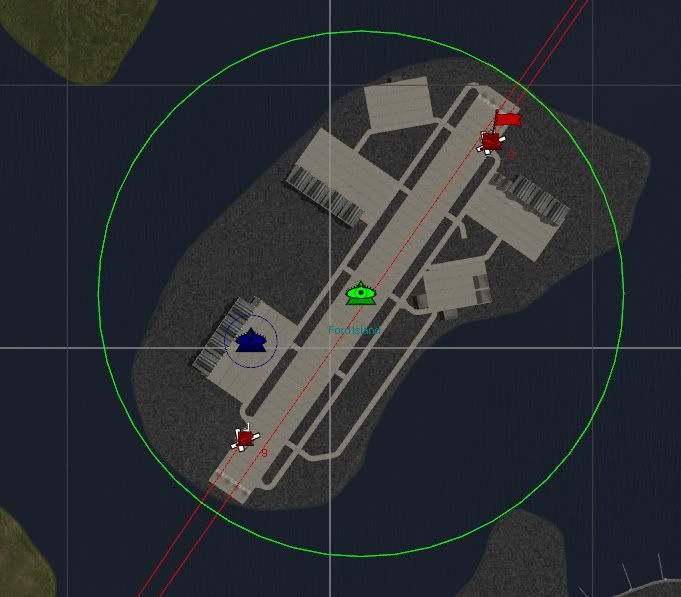
Open up our last mission 'Two-Ship Scamble' in the FMB, and open the 'View' - 'Object' window and select 'Target' and 'Recon' in the 'Type' tab. CNTL-click on Ford Island to place the target marker circle.
These are the default Recon Target settings for a
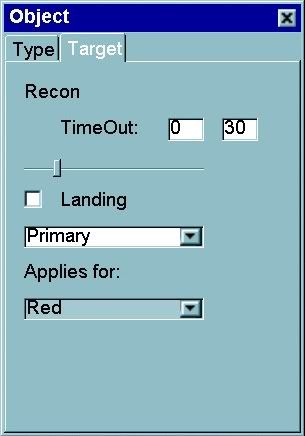
recon flight - probably the Primary objective. If the Red player flies over the area covered by the target marker circle before the TimeOut expires (30 minutes) - he wins the objective.
 We
We aren't making a recon flight though.
This will be our 'Secondary' landing objective to reward the player for getting his bird back to base in one piece (or at least
large pieces if your landings aren't too hot!
). Check the 'Landing' box to make this a landing objective. To achieve the objective the player will have to land inside the target marker circle, wheels on the ground, speed less than 10 km/h (6mph). This objective doesn't require a TimeOut - either we get back to base and land... or we don't. Set the TimeOut to 0:0 and
no time limit will apply.
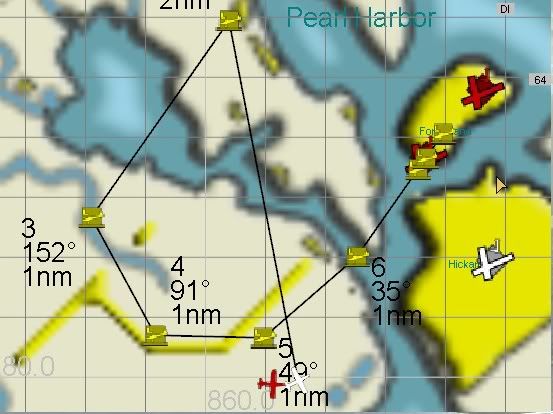
Left-click and drag to move the target marker circle to the centre of the runway, and use the slider tool in the 'Target' tab (above the Landing check-box) to adjust the size of the circle to cover both ends of the runway.
Simple! Now we have a real incentive to complete our mission and return to base for a well earned
50 bonus points towards our pilot's career.
And for the icing on the cake? We're going to set a 'Hidden' taxi objective,
100 bonus points to reflect the positive impact on our pilot's career of a
thoroughly professional completion of his assignment, not to mention keeping the ground crew happy, as Flying Nutcase pointed out.
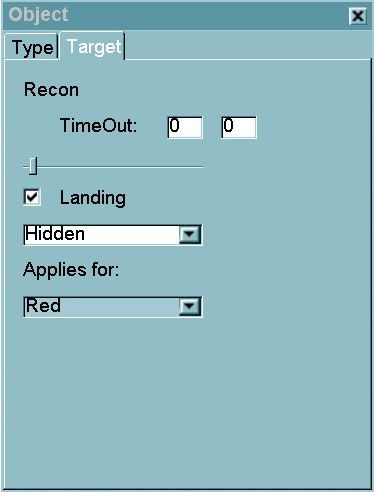
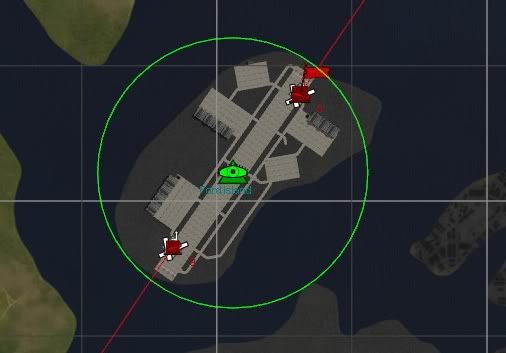
Designate a specific hangar (if you've been paying attention you might like to choose one near to where Red Two normally lands) and add a second 'Recon' target. Set the target to 'Hidden', check the landing box, and TimeOut 0:0.
Drag the target marker circle and adjust the slider tool so that
only the area directly in front of the hangar is covered.
Spice up the briefing to remind the player what's at stake here.
And there you have it... a really nice, professional plan for our mission. We'll have a look at the other target types later. In the meantime, here's a few things to keep in mind:


To achieve
'Mission Complete' you must achieve all the 'Primary Objectives' in a mission.

If there are no Primary Objectives, you must achieve all the 'Secondary Objectives' to achieve 'Mission Complete'.

If there are no Secondary Objectives, you must achieve all the 'Hidden Objectives' to achieve 'Mission Complete'.
Primary Objective: 50 points
Secondary Objective: 50 points
Hidden Objective: 100 points

The score for 'Two-Ship Scramble is now 600 points, 400 to shoot down 2 enemy aircraft plus 200 bonus points for the primary, secondary and hidden target objectives.
Next time, we'll look at bring our airfield operations to life with Objects.
KB
FMB Tutorial - Home


 Author
Topic: FMB Tutorial 04 - Destroy, Recon, Landing and Taxi Objectives (Read 8253 times)
Author
Topic: FMB Tutorial 04 - Destroy, Recon, Landing and Taxi Objectives (Read 8253 times)